
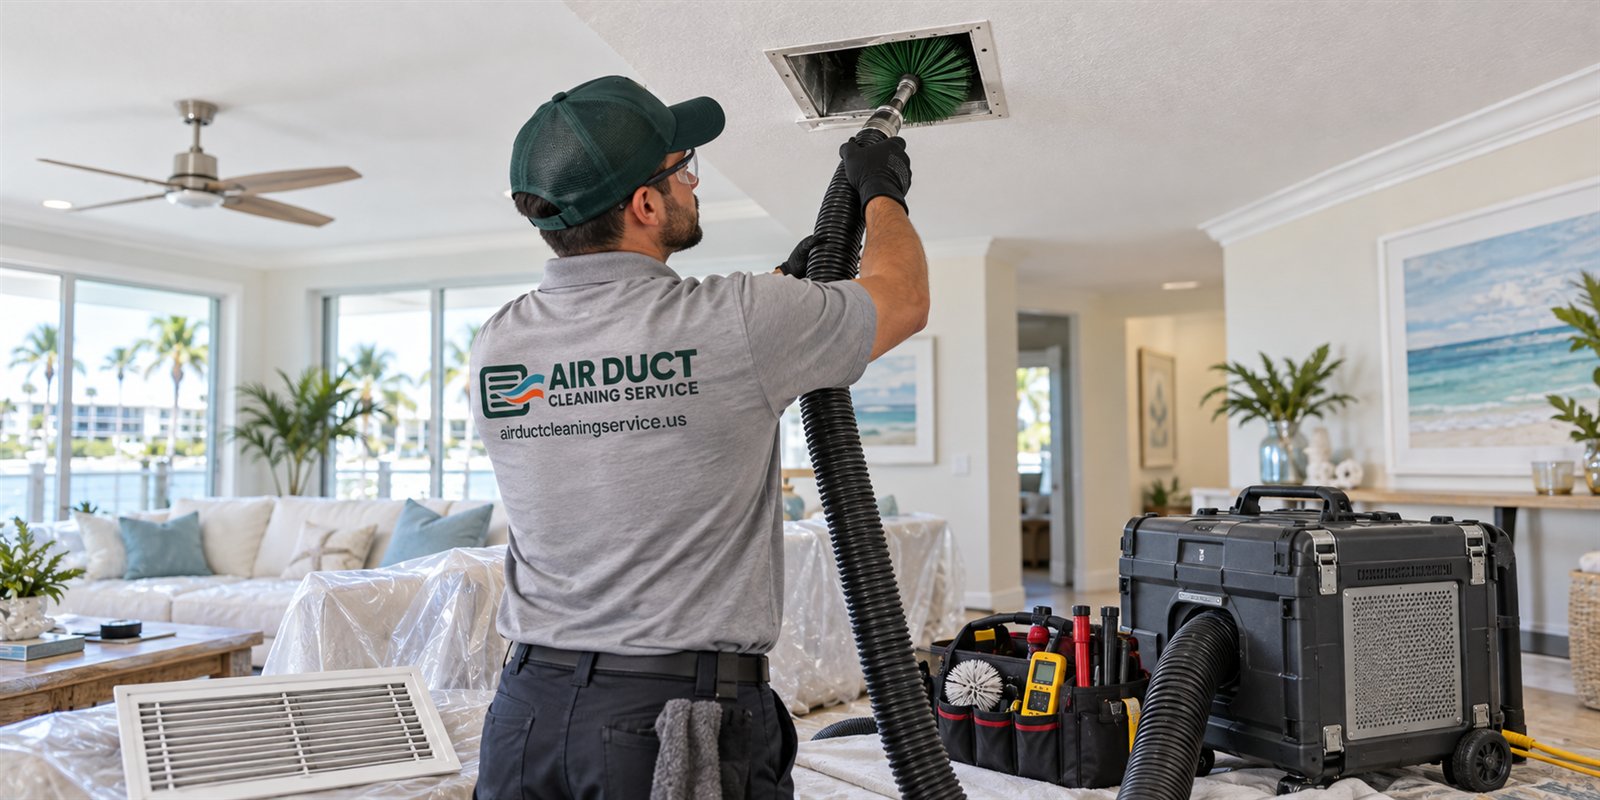
Why the agitation tool matters
Dust and debris stick to the inside of ducts through static, moisture, oils and sheer accumulation. Suction alone, even strong suction, often does not lift all of it, particularly where material has compacted. Agitation is the step that loosens it, so that the negative air machine can carry it into the collection unit. The tool used for agitation affects how well the debris is released and how much stress the duct takes.
Ducts are not all alike. Sheet metal is rigid and tolerant. Flexible duct has a thin inner liner supported by a wire helix and wrapped in insulation, and it can tear or collapse. Duct board is made of compressed fiberglass with a facing, and heavy mechanical action can damage the surface. A tool that is perfectly reasonable in one is risky in another.
This page compares the main methods. It does not name a winner, because the right choice depends on the duct. What it offers is a way to understand what a provider means when they say they use a particular tool, and to ask whether it suits what is in your attic or walls.
How source-removal cleaning fits together
Professional duct cleaning, often called source-removal cleaning, has three parts that work together. First, the system is placed under negative pressure by a powerful vacuum connected to the duct network, so air flows toward the machine through the ducts. Second, agitation tools loosen debris from the duct surfaces. Third, the vacuum carries the debris through the collection unit, where filtration traps it.
If any of the three is missing, the process falls short. Agitation without suction scatters dust. Suction without agitation leaves compacted material. Neither works well without access to the duct, which is why technicians create access openings and seal them afterward. See negative air machines in duct cleaning for the suction side.
The agitation step is what this page covers. It can be done with spinning brushes, with compressed air devices that whip or blow debris loose, with handheld tools, or with a combination, depending on the duct type and the condition of what is inside. A good provider matches the method to the duct and the evidence, not to a standard routine.
Rotary brush systems
A rotary brush system uses a motor-driven brush on a flexible shaft that is fed into the duct. As the brush spins, its bristles scrub the duct walls, loosening debris that the vacuum then carries away. Brushes come in different sizes, stiffness and materials, and technicians choose one that fits the duct diameter and suits the surface.
Brushes are effective in rigid ducts, such as sheet metal and spiral, where the walls are smooth and sturdy. They can reach compacted material and scrub effectively. In a long straight run, a brush can clean thoroughly and consistently. The technician can often see progress on a camera and adjust.
Brushes can be a problem in some other ducts. A stiff or aggressive brush can tear the liner in flexible duct, dislodge connections or snag on bends. In duct board and lined ducts, scrubbing can release fibers or damage the facing. That does not rule them out, but it calls for the right brush, careful use and an honest assessment of the duct condition before work starts.
Air whip and compressed air methods
An air whip is a tool that uses compressed air to move a flexible tube or nozzle inside the duct, so that the tip lashes against the walls and loosens debris. Other compressed air tools blow jets of air along the surface to dislodge material. The agitation is gentler than a spinning brush because there are no bristles pressing against the wall, though the whipping action still has force.
Air whips are often favored for flexible duct and for lined or fiberglass duct board, where scrubbing might cause harm. They can also reach into bends and branches that a brush shaft cannot navigate easily. In hard-to-reach runs, they may be the practical option.
They are not magic. A whip may be less effective on compacted or sticky material, and it needs a strong vacuum in place to carry away what it releases. Without proper containment, compressed air can blow debris out through registers. The method is only as good as the suction and containment that go with it. See residential duct cleaning for how the full process is organized.
Handheld tools, contact vacuums and other options
Not every part of a system can be reached with a brush or whip. Near the air handler, in plenums and at register boots, technicians use handheld brushes, contact vacuum tools and sometimes small scrapers to clean surfaces directly. These are slow but controlled, and they let the technician see what they are doing.
Plenums and trunk lines are often large enough for a person to reach into through an access opening. Direct cleaning with a brush and vacuum can be more thorough there than remote tools. Blower wheels and coil surfaces need their own approach, usually with careful brushing and low-moisture methods, as covered in blower compartment cleaning.
Some providers use robotic crawlers with cameras and brushes in large commercial ducts. Others combine methods, using a whip for the flexible branches and a brush for the metal trunk. A varied toolkit is a good sign, because it suggests the provider adjusts to the duct instead of forcing one tool everywhere.
Which duct materials suit which methods
The table below summarizes typical matches. It is a general guide, not an instruction, and a technician may choose differently after seeing the actual duct. Condition matters as much as material, since an old or brittle duct needs a gentler approach than a new one of the same type.
For more on the materials themselves, see sheet metal ductwork, flex duct in Florida homes and duct board fiberglass ductwork. Understanding what you have helps you ask better questions.
| Duct material | Methods often suitable | Cautions |
|---|---|---|
| Sheet metal | Rotary brush, air whip, handheld tools | Mind sharp edges and loose joints |
| Spiral and round metal | Rotary brush, air whip | Match brush size to the diameter |
| Flexible duct | Air whip, gentle methods | Liner can tear; avoid stiff brushes |
| Duct board | Gentle air methods, careful handwork | Facing can be damaged by scrubbing |
| Lined metal duct | Gentle methods, inspection first | Liner may shed fibers if worn |
| Plenums and boots | Handheld brushes, contact vacuum | Seal access openings afterward |
When the duct is too damaged to clean
Sometimes agitation is not the answer at all. If flexible duct has a collapsed liner, if duct board is falling apart, if insulation is soaked or if a lining is flaking, aggressive cleaning can make things worse. In those cases the honest recommendation is repair or replacement of the affected section.
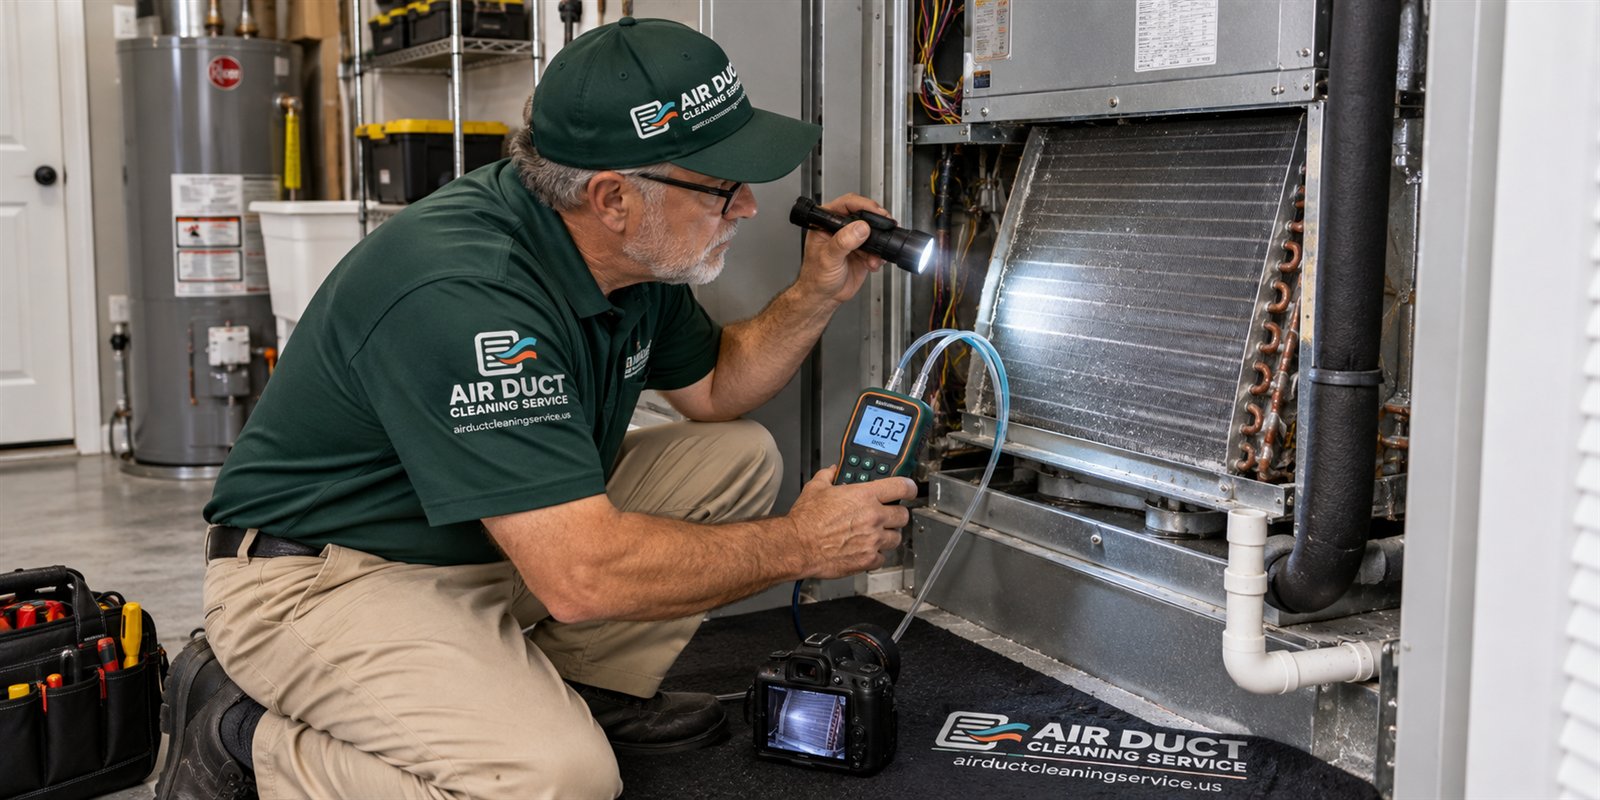
A camera inspection before the work is how this is determined. The technician looks for torn liners, exposed fiberglass, rust, water damage and crushed sections, and shows you the evidence. See camera inspection of ducts and deciding between cleaning and replacement.
A provider who plans to use one tool on everything, without looking first, may damage something that was fine. A provider who looks first and adjusts shows the evidence-first approach. Ask what they will do if they find a duct that cannot be cleaned safely, and expect a clear answer that includes stopping and discussing options.
Questions to ask a provider about their methods
You do not need to be an expert to ask good questions. A provider who is comfortable answering them is usually comfortable with their work. Listen for specifics rather than slogans, and be wary of answers that dismiss the question or promise one method fits everything.
Keep their answers with your records. If the work is later questioned, notes about what was said and what was done help. See how to choose a duct cleaner and red flags in duct cleaning offers for the wider picture.
- What kind of ducts do I have, and which tools do you plan to use on each?
- How will the system be kept under negative pressure during the work?
- How do you protect flexible duct and duct board from damage?
- What happens if you find a duct that cannot be cleaned safely?
- Will you take before and after photos from the same locations?
- How are access openings made and sealed afterward?
- Where does the collected debris go?
What results should look like
Whatever the method, the result should be visible. After photos taken at the same spots as the before photos should show clean surfaces where debris was present. Registers should be clean and reinstalled, access openings sealed, and the work area tidy. Ask for a written summary of what was cleaned and what was found.
Be realistic about what clean means. Ducts are not sterile, and a thin film of residue may remain on rough surfaces. The aim is to remove loose and visible accumulation, not to polish the metal. See how to read before and after photos for how to tell a real result from a staged one.
If the results are not what you expected, say so right away, while the crew or the photos are still fresh. A reputable provider will review the photos with you and explain or fix what is outstanding.
Examples of matching method to duct
Picture a ranch house with sheet metal trunk lines in the attic and flexible branches to each room. A sensible plan uses a rotary brush on the straight metal trunk, where it works well, and an air whip or gentle method in the flexible branches, where a brush could tear the liner. The crew moves between tools as the duct changes, and the camera confirms each section.
Now picture a condo with short duct runs of duct board above a dropped ceiling, reached through small access openings. Here the plan leans on gentle air methods and careful handwork near the air handler, because scrubbing the board surface could release fibers. The access openings are kept small and sealed afterward.
A third case is an older home with metal ducts that have rust in places. A technician might skip aggressive brushing on thin, corroded sections and recommend repair instead, since scrubbing could open a hole. The point of each example is the same: the method follows the duct and its condition, and the crew should be able to tell you why.
Calling to discuss your ducts
When you call, describe your duct types if you know them, your home layout and what is prompting you to ask. Mention whether the air handler and ducts are in the attic or a closet, whether they have been cleaned before and what you have noticed. Photos of registers and the air handler area help.
A visit may begin with a camera look at accessible ducts to identify the material and condition, followed by a plain explanation of which methods would suit. Quotes for any cleaning are given by phone, complex jobs need an on-site visit, and the service call charge is explained on the phone before dispatch.
If you want to understand the method before you agree to anything, call and ask. A clear explanation of the tools and why they suit your ducts is part of doing the work properly.
Questions people ask
Is a rotary brush better than an air whip?
Neither is better in every case. Rotary brushes work well in rigid metal ducts and for compacted debris, while air whips are often gentler on flexible duct and duct board. The right choice depends on the duct material, its condition and what is inside, which is why a camera look before cleaning matters.
Can a brush damage flexible duct?
Yes, a stiff or aggressive brush can tear the inner liner, snag on bends or loosen connections in flexible duct. Providers often use gentler methods there. Ask what tools will be used on each duct type and what the plan is if a section looks too fragile to clean safely.
Does an air whip work without a vacuum?
It should not be used that way. An air whip or compressed air tool loosens debris, but a powerful vacuum and containment are needed to carry it out of the system. Without suction, debris can blow out of registers into rooms or settle elsewhere in the ducts.
What if my ducts are too damaged to clean?
A camera inspection can show torn liners, exposed fiberglass, water damage or crushed sections. In such cases repair or replacement of that section may be the honest recommendation, and cleaning would risk further damage. A provider should show you the evidence and explain the options before proceeding.
How will I know the method worked?
Ask for before and after photos taken from the same locations, a written summary of what was cleaned and what was found, and clean registers reinstalled. Ducts will not be sterile, but visible accumulation should be gone. If results fall short, raise it promptly so the provider can review the photos with you.
What should I have ready when I call?
Know your duct types if you can, where the air handler and ducts are, whether they were cleaned before and what you have noticed. Photos help. Quotes are given by phone, complex jobs need an on-site visit, and the service call charge is explained on the phone before dispatch.
Describe the situation by phone and we will tell you what the job involves. Quotes are given by phone. Jobs that cannot be quoted without seeing them need a technician on site, and the service call charge is explained on the phone before anyone is dispatched.
Related pages
- Negative Air: What a negative air machine is, how containment and suction carry debris out of the duct system, and what to look for when a crew says it uses one.
- Flex Duct: Learn how flexible duct is built, why it is common in South Florida attics, and what cleaning methods it can and cannot tolerate before work begins.
- Sheet Metal Ducts: Rigid sheet metal ducts tolerate more cleaning methods than flexible duct, but seams, joints and corrosion still need a careful look first. Here is why.
- Camera Inspection: A duct camera lets a technician see inside runs you cannot reach. Learn what footage can and cannot show, and how to treat it as evidence, not a sales tool.
- Choosing a Cleaner: How to tell a careful duct cleaner from a rushed one: evidence shown first, method explained, scope in writing, and conduct that respects your decision.
- Dryer Vent Reroute: When a long or bent dryer vent run justifies a new path, what evidence points to rerouting, and why the work should be done by someone qualified.
What a Technician Looks for Before Picking a Tool
Choosing a tool is not a matter of preference alone. Before the technician commits, they open a few access points and look at what the duct is made of, what condition it is in and how much debris sits inside. Sheet metal that is solid and straight handles a different approach than flexible duct with a thin liner. The first look, usually with a camera or a flashlight, tells the crew what the surface can tolerate, so a heavier tool is not forced into a fragile run. A short call before the visit is the best time to raise any concern or special request.
Size and layout come next. A narrow branch with several tight turns may suit a smaller tool or a handheld approach, while a wide trunk allows more room for a larger one. Technicians also consider how easy it is to reach each section. If a run only opens through a small register boot, the tool must fit, and the crew may need to cut an access point. Those decisions are explained to you first, since cutting a hole is a change to your system that you should know about.
Finally, the crew thinks about what is already damaged. A liner that has torn, a joint that has separated or a section crushed by weight in the attic can be made worse by aggressive agitation. In those cases the technician may recommend a gentler method, a repair before cleaning or leaving a section alone. We explain these options in plain words, with photographs, and you decide the next step. No single tool suits every duct, which is why the first look matters. Every home is a little different, so we describe what we actually see instead of assuming.