
Why the order of work matters
Many South Florida homes have the air handler or the ducts, or both, in the attic. The same space is where insulation goes, so a homeowner planning an insulation upgrade is often working around the very ducts that deliver cool air to the house. If the insulation goes in first and the ducts are looked at later, any problem with the ducts is now under a thick layer of material that has to be moved again.
The sensible order is to inspect first, repair second and insulate last. That order lets the ducts be seen, photographed, repaired and, if warranted, cleaned while they are fully exposed. It also lets the insulation installer place material properly around the duct runs instead of guessing where they are beneath a blanket of fluff.
This page explains why, what to look for in the attic, and how to coordinate the trades. It is not a recommendation to buy or avoid any product. It is a way of thinking about the sequence so that money and effort spent on one project are not undone by the other.
What the attic does to ducts
Summer attics in this region get extremely hot, and ducts running through them live in that heat for months. Flexible duct, with its plastic inner liner and outer jacket, can become brittle, crack or sag over time. Insulation wrapped around the ducts can degrade, split at seams or slip off. Connections held by tape that has dried out can separate.
Because the ducts carry cold air through hot space, condensation is a risk wherever insulation or vapor barriers are damaged. Moisture on a duct can stain ceilings below, dampen nearby insulation and encourage musty odor. A duct that is wet or sweating is a signal to investigate before more material goes on top.
See hot attic damage to flex duct and condensation and sweating ducts for what these conditions look like and what a technician checks. Understanding them makes the sequencing logic obvious, because every one of those problems is easier to fix before insulation covers it.
What insulation can hide
Blown-in insulation settles across attic floors and can cover ducts completely. Under that layer there may be disconnected joints, crushed sections, torn liners, dirt trails where leaks have blown dust, old pest nests or droppings, or water stains from a roof leak. None of these is visible once the new material is down.
Burying ducts is not always wrong. Some designs intentionally cover ducts with insulation, and in certain climates and construction styles that is a recognized approach. The issue is not that insulation touches ducts. The issue is covering ducts that have not been checked, so any defect is locked in under the blanket.
Insulation can also block access. Many attic duct runs have to be reached for later cleaning or repair, and a deep layer makes that harder and more disruptive. Ask the installer how access paths will be kept, and whether markers or walkways will remain so a technician can reach the air handler and main trunk lines in the future.
What to check in the attic first
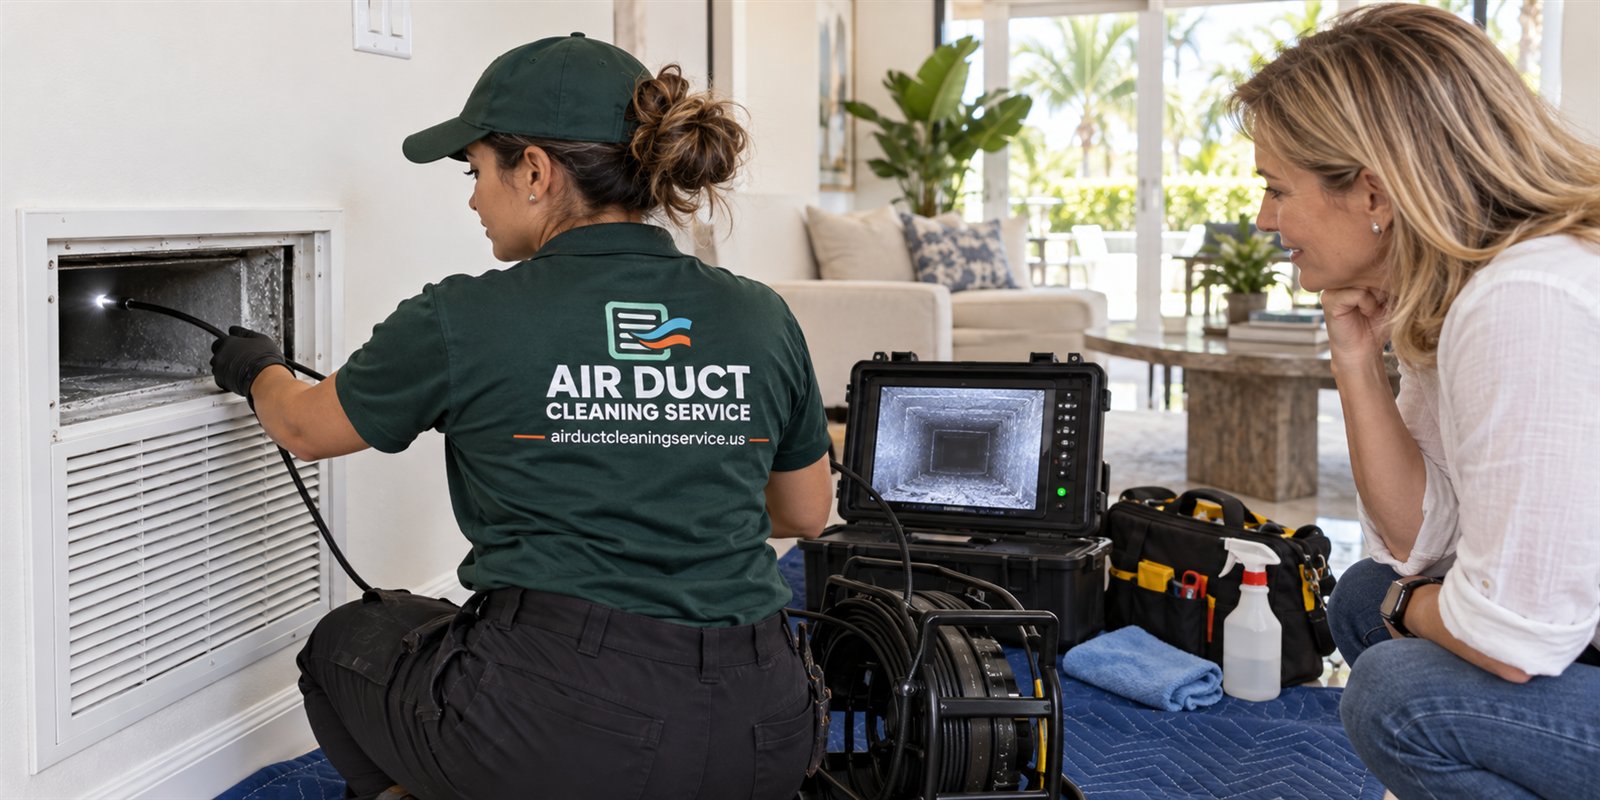
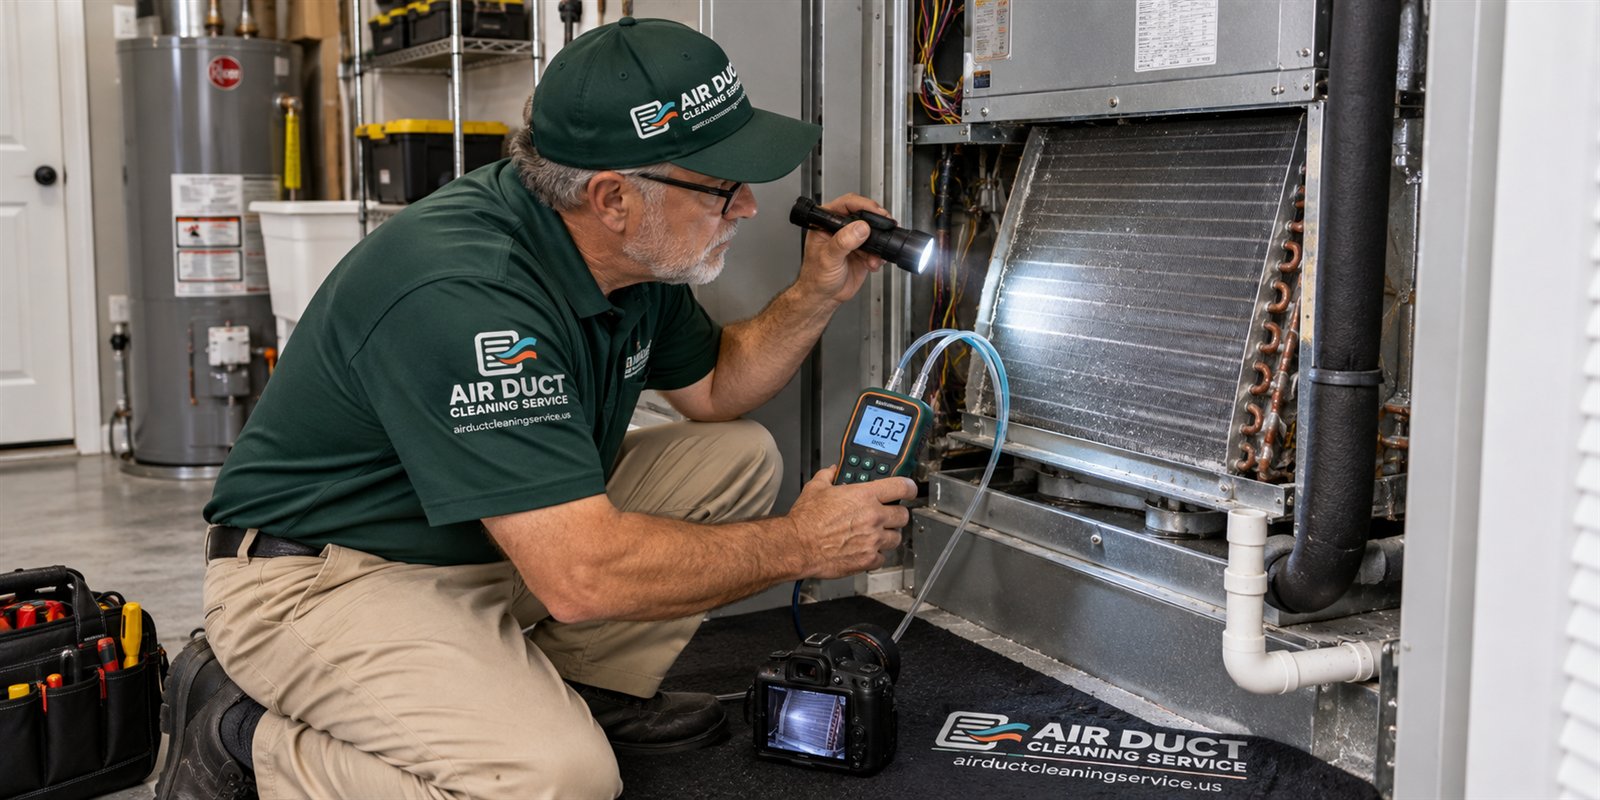
An attic inspection for this purpose is a visual survey. A technician looks at the duct material and condition, the connections at the plenum and at each register boot, the insulation wrapped on the ducts, any visible moisture or staining and any evidence of pests. Photos are taken so the findings can be shown to you rather than described from memory.
Safety shapes how this is done. Attics are hot, the floor may be nothing but ceiling drywall between joists, and electrical wiring, sharp fasteners and nests can be present. Technicians know where to step and what to avoid. A homeowner who goes up without knowing the structure risks falling through the ceiling or heat illness. See attic inspection safety for the reasons to leave this to someone prepared.
If the attic holds the air handler itself, the inspection also looks at the drain pan and line, the access panels and the plenums. Those are covered in checking the drain line, and are important because a clogged drain in an attic can cause ceiling damage that insulation will not fix.
- Duct material, sagging, kinks and crushed sections
- Connections at the plenum, trunk lines and register boots
- Condition of the insulation jacket on each duct
- Moisture, staining, rust or signs of old leaks
- Pest evidence such as droppings, nests or chewed material
- Access routes and walking surfaces for future work
Repair and sealing before insulating
If the inspection finds leaks, disconnected joints or damaged duct sections, those are repaired first. Sealing joints with appropriate mastic and fastening connections securely keeps conditioned air inside the duct system instead of dumping it into the attic. This is a different task from cleaning, and it is separate from insulating, but it belongs in the same sequence.
Duct sealing and insulation interact. A leaking duct covered with insulation continues to leak, only now the loss is hidden and the surrounding material can trap moisture. Fixing the leak first improves the duct's performance and lets the installer wrap or cover it properly. See duct sealing, mastic and tape and deciding about duct sealing first for the reasoning.
Damaged duct sections may need replacement rather than patching. That decision depends on how much of the run is affected and whether the material is still sound elsewhere. A duct that is brittle along its entire length may be a candidate for replacement, while a localized tear may only need a repair. Your inspector should show you the evidence for whichever option is proposed.
Where cleaning fits in the sequence
If cleaning is warranted, the best time is after repairs and before insulation goes back over the ducts. Cleaning needs access to the air handler, the plenums and the trunk lines. Doing it while the attic is open means the technician can reach connections and take before and after photos without moving a blanket of insulation.
Whether cleaning is warranted depends on what the inspection shows. If the interior of the ducts is visibly dusty or has debris, residue or pest material, cleaning may make sense. If the interior looks acceptable, there may be no reason to clean at all. Evidence comes before the decision, not after it.
Read deciding whether you need duct cleaning for a framework. Cleaning also cannot fix a leak or a damaged duct, so do not expect it to substitute for repair. In an attic project the useful pattern is inspect, repair, clean if indicated, then insulate.
Working with the insulation installer
Insulation installers specialize in coverage, depth and thermal performance. They are not usually duct specialists, and duct specialists are not usually insulation installers. Coordination is yours to manage unless a single contractor handles both. Tell the installer what the duct inspection found and what was repaired, and ask how they will treat the area around ducts and the air handler.
Useful questions include how the material will be kept off the air handler access and any electrical junction, whether baffles will keep soffit vents clear so attic ventilation is not blocked, and how the duct runs will be marked. Ask whether any compressed or damaged duct will be left alone or moved, and whether the installer will photograph the work.
Do not let anyone cover a duct you have not seen. If a duct was repaired, ask for photos of the repair before the insulation goes on. A good installer will not mind the pause, and the photos give you a record if a question arises later. Keep them with your records, as described in keeping your own duct records.
Humidity, ventilation and attic conditions
Attics in humid climates need to handle moisture. Soffit and ridge ventilation, intact roofing and well-sealed duct work all work together. If insulation blocks soffit vents or a roof leak goes unnoticed, damp insulation loses performance and the ducts nearby can sweat or corrode.
After heavy rain or a storm, check ceilings for stains before any insulation work is planned. A roof leak found after new insulation is installed is harder to trace, because the wet material can wick moisture sideways. See roof leak and attic ducts for signs to look for, and roof replacement and attic debris if a new roof is also in the plan.
Humidity inside the house matters too. A system that does not remove moisture well can leave ducts cold and damp. Insulation work does not substitute for diagnosing why humidity is high, and it should not be sold as a cure for it.
A sequence you can follow
Use this list as a plan when you are scheduling trades. It keeps each project from undoing the previous one and gives you documented evidence at every stage.
If one step reveals a larger issue, such as a failing air handler or a roof leak, resolve it before moving on. The sequence bends to the findings, and the evidence decides what comes next.
- Have the attic ducts and air handler inspected and photographed.
- Review the photos and findings with the technician before any work is scheduled.
- Repair roof leaks, drain line problems and any moisture source that was found.
- Seal leaking joints and repair or replace damaged duct sections.
- Clean the system only if the inspection shows a reason to.
- Take final photos of the repaired ducts before they are covered.
- Brief the insulation installer on findings, access needs and vent clearances.
- Keep before and after photos and written notes with your home records.
Common mistakes to avoid
The most frequent mistake is treating the insulation job as separate from the air system. A crew arrives, blows material across the attic floor, and leaves, never having looked at what lies beneath. The homeowner assumes someone checked. Nobody did, and the next time a duct fails the repair involves digging through the new layer.
A second mistake is assuming that new insulation fixes comfort problems on its own. If rooms are uneven because a duct is crushed, leaking or undersized, more insulation does not change that. It may reduce heat gain through the ceiling, which is useful, but the airflow problem remains. Evidence from an airflow check at the registers tells you which problem you actually have.
A third mistake is pushing material against the air handler cabinet, around a furnace flue or over recessed light fixtures that were not rated for it. Those areas need clearance for safety and service. Ask the installer to show you how clearances will be kept, and look at the finished work before you pay for it.
Finally, some owners skip documentation. Without photos, a later technician cannot tell whether a duct was repaired, how it looked before, or whether a stain is old or new. Five minutes of photographing before the work starts is among the most useful things you can do.
When to call and what to expect
Call before you sign an insulation contract if you have attic ducts, and describe the project, the age of the house and any symptoms such as uneven cooling, ceiling stains or dust at registers. Mention whether the air handler is in the attic and whether you have ever had the ducts looked at.
A visit typically starts with listening to the history, then moving to the attic for a visual survey with a light and camera, then reviewing photos with you. Quotes for repair or cleaning are given by phone, complex jobs need an on-site visit, and the service call charge is explained on the phone before anyone is dispatched.
If an insulation project is on your calendar, call first. Having the ducts checked while the attic is still open costs far less trouble than finding a problem under new material.
Questions people ask
Should I inspect the ducts before adding attic insulation?
Yes, that is the safest order. Once insulation covers the ducts, leaks, damage, moisture and pest evidence are hidden and harder to reach. An inspection with photos before the work gives you a record, lets repairs happen while everything is visible, and helps the installer place material properly around the duct runs.
Can insulation damage my ducts?
Insulation does not usually damage ducts by itself, but heavy installation can crush flexible duct, block access and cover defects. Material pushed against a hot air handler or electrical junction can also be a concern. Tell the installer where the ducts are and ask how they will be protected and kept accessible.
Does adding insulation replace duct sealing?
No. Insulation slows heat transfer through the duct surface, while sealing keeps air from leaking out of joints and seams. A leaking duct that is insulated still leaks, and the loss is simply hidden. Sealing and repair come first, then insulation goes on over a duct system that is in good condition.
Is it safe for me to check the attic myself?
Attics can be dangerously hot, the floor may only be ceiling drywall between joists, and there may be wiring, sharp fasteners or nests. Looking at the access hatch from below is fine. Walking through the attic is best left to someone who knows where to step and what to avoid.
Will cleaning be needed before insulation goes in?
Only if the inspection shows a reason, such as visible dust, debris, residue or pest material inside the ducts. If the interior looks acceptable, cleaning may not be needed. If it is needed, doing it while the attic is open is easier and leaves a chance to photograph the results.
What should I tell you when I call?
Describe the planned project, the age and type of home, where the air handler and ducts are, and any symptoms such as ceiling stains, uneven cooling or dust at registers. Quotes are given by phone, complex work needs an on-site visit, and the service call charge is explained on the phone before dispatch.
Describe the situation by phone and we will tell you what the job involves. Quotes are given by phone. Jobs that cannot be quoted without seeing them need a technician on site, and the service call charge is explained on the phone before anyone is dispatched.
Related pages
- Heat Damage: Attic heat can make flex duct jackets brittle and sagging. Learn the signs, what it means for cleaning and when repair or replacement is the better choice.
- Attic Safety: Heat, nails, wiring and weak ceilings make attics risky. See what is safe to view from below, why owners should not climb up and how a technician prepares.
- Insulation Check: rrap and liner condition tell a technician a lot. See what wet, torn or compressed duct insulation means and why it changes the cleaning decision.
- Insulation Types: Duct wrap, vapor barrier jackets and attic moisture: how the insulation on the outside of ducts works in humid South Florida and what damage looks like.
- Seal First: The order of duct repair, sealing and cleaning, and why it matters: leaks that feed dust, work that stirs it up and how to sequence jobs in a Florida home.
- Short-Term Rentals: How hosts of vacation and short-term rentals can manage odors, dust and cooling complaints with a filter routine, turnover checks and evidence-based cleaning.
Questions to put to the insulation installer before they start
Before insulation work begins, a short conversation with the installer can prevent problems. Ask whether they will walk the attic first and look at the ducts, and whether they plan to cover duct runs or keep them accessible. Ask how they handle recessed lights, attic hatches and the area around the air handler, since these are places where insulation is often placed incorrectly. The questions need not be confrontational. A good installer will welcome them, because they show that you care about the result and that you will notice if corners are cut.
Ask what they do if they find damaged duct or wet insulation. A responsible installer stops and tells you, and does not bury the problem under new material. Ask also how they protect existing duct work while moving equipment and hoses through the attic, because crushed flexible duct is a common casualty of an insulation job. Take notes on the answers, and ask for the key points in writing if you can. A short email from the installer after the conversation helps if there is a misunderstanding later.
Finally, ask whether they will leave walking paths or markers so that future technicians can reach the air handler. Sharing a copy of our inspection findings with the installer is often helpful, since it shows exactly where repairs were made and where access must be kept clear. If an installer is unwilling to discuss duct protection, consider that a signal worth weighing when you choose. Treat the conversation as a way of confirming that everyone shares the same goals, and keep a copy of any agreement. Clear communication before the work is the easiest way to prevent expensive corrections afterward, and it gives you something to refer back to if questions come up.