
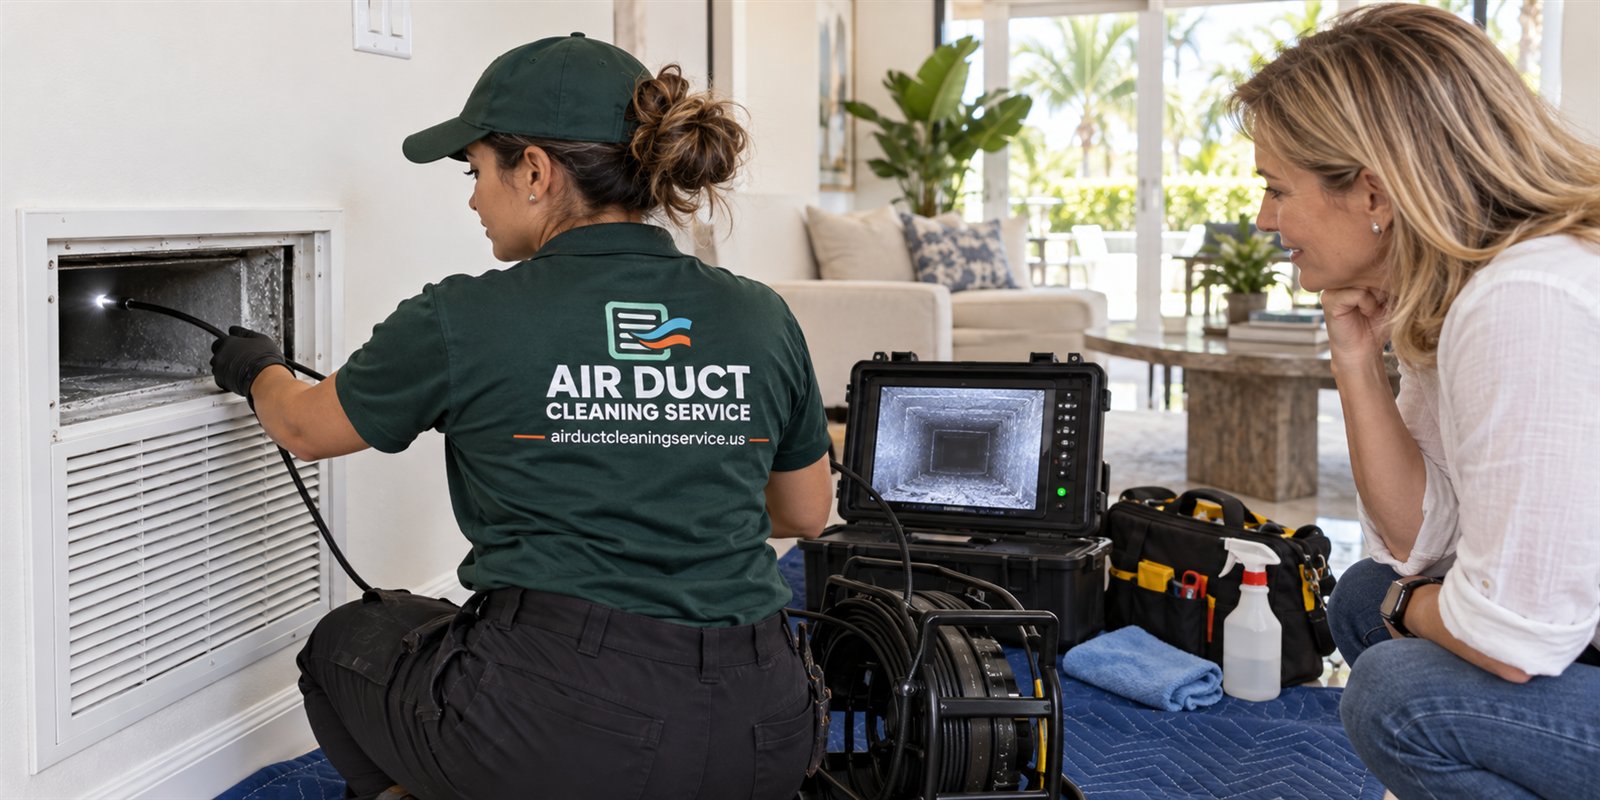
Why the toolkit matters before any cleaning starts
Most people picture duct cleaning as a big machine and a loud vacuum. The inspection that comes first looks very different. It is a quiet visit built around observation, and the quality of that visit depends on whether the technician arrives with the right instruments to see what is actually inside your system. A technician who arrives with only a clipboard and an opinion can tell you what they think. A technician who arrives with a camera, a light, a way to open access points and a way to record findings can show you what is there.
That difference is the core of evidence-first work. Ducts are hidden in attics, soffits, closets and ceilings, so nobody can judge their condition from the living room. The tools are how the hidden parts become visible and how the visit leaves something behind besides a verbal impression. You can learn the full order of a visit in how a duct inspection works step by step, and this page focuses on the items themselves.
It also helps to know what is not required. You do not need to buy anything, rent anything or prepare any equipment. Your job as the property owner is to understand what you are seeing and ask sensible questions. The technician's job is to bring a toolkit that answers those questions with something more solid than a guess. If a visit is described to you on the phone, it is reasonable to ask in general terms what will be looked at and how it will be recorded, and a straightforward answer is a good sign.
Lights and mirrors: the first line of sight
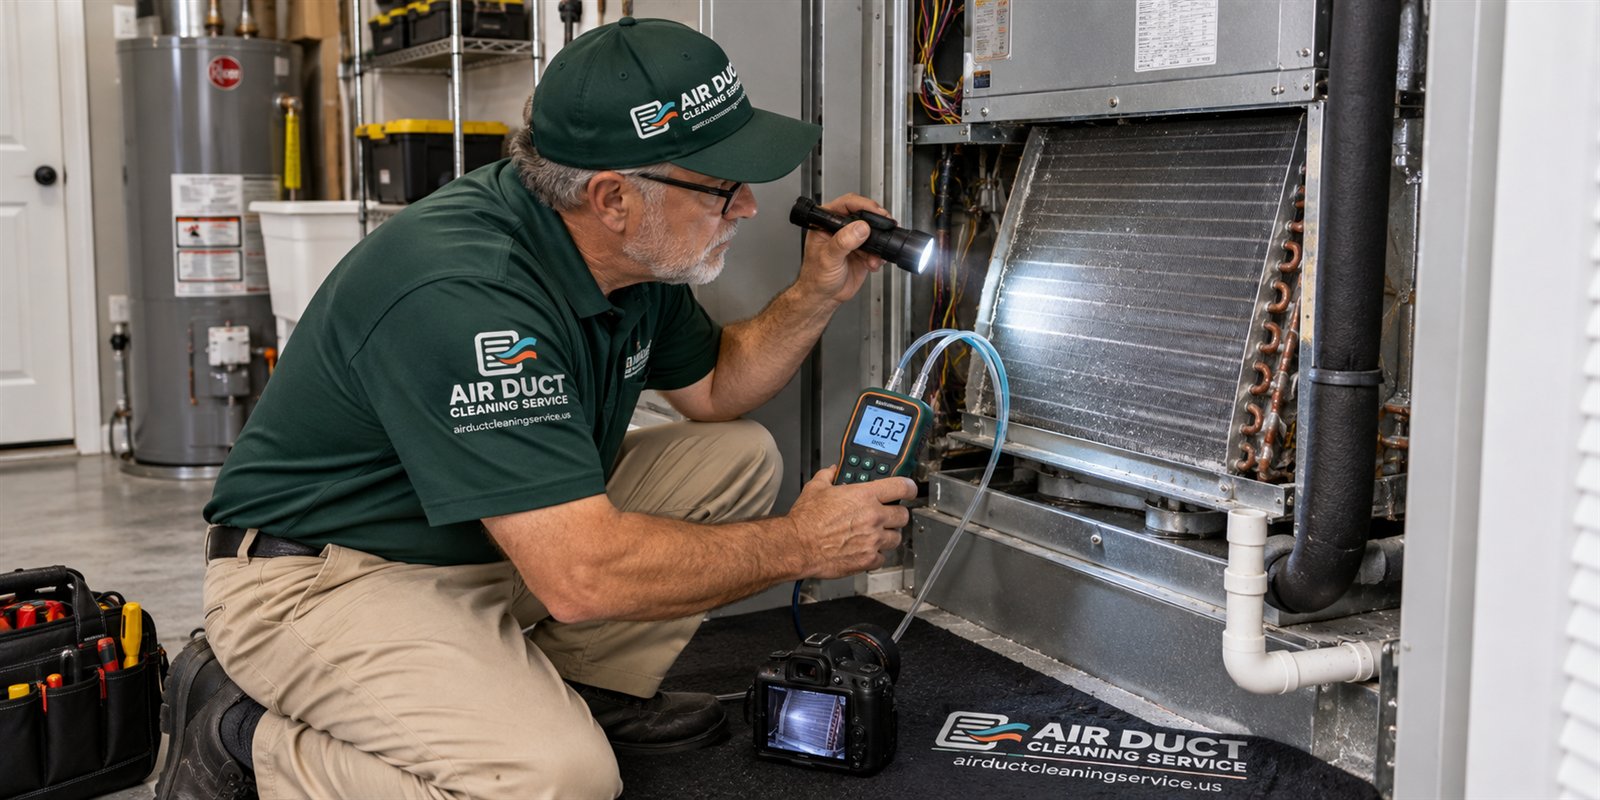
The first and most underrated tool is a good light. Ducts, plenums and air handler cabinets are dark, and a weak flashlight makes everything look either cleaner or dirtier than it is. A strong, bright, steady light shows the true color of a surface, the texture of dust, the edge of a stain and the difference between a dry film and a damp one. Technicians often carry a headlamp so both hands can work on panels and cables, plus a handheld light for angled looks.
A small inspection mirror on a telescoping handle is the second basic item. It lets a technician see around a corner, behind a register boot or into the back of a return cavity without disassembling anything. Mirrors are old technology and still useful, because they cost the system nothing and cannot damage a duct. For a first look through a register opening, a mirror and a light are often enough to see whether the first stretch of duct is clean, lightly dusty, damp or visibly contaminated.
What these simple tools tell you is a first impression, not a final finding. A light and a mirror reach only as far as a line of sight allows. In a long flex run that sags between joists, the camera has to go further. Think of the light and mirror as the screening step: they decide whether a deeper look is needed and where it should go. A technician who can explain that logic, rather than jumping straight to a cleaning recommendation, is working the way an inspection should work.
The inspection camera and its screen
The camera is the tool most people notice, and it deserves a careful description. A typical duct camera is a small lens with its own lights on a flexible cable, connected to a handheld screen or a phone. Some are pushed by hand. Others ride on a small tracked crawler for larger sheet metal runs. The point is to travel past the first few feet and look at the inner surface of the duct, the joints, the insulation and anything unexpected, such as debris or a pest nest.
What matters for you is what happens to the footage. A camera that only the technician watches gives you the technician's word. A camera whose screen you can see, and whose images are saved, gives you shared evidence. You can ask to look at the screen during the visit, and you can ask that a few representative images be kept with the written findings. Further detail on how footage is used and where it misleads is in camera inspection of air ducts.
A camera has limits worth remembering. The lens is wide and close, so a thin film of dust can look dramatic on screen. A smudge on the lens can look like dirt in the duct. Lighting can wash out or exaggerate color. A careful technician cleans the lens, moves the camera at a steady pace, and reports what is visible in measured words instead of alarming ones. The tool is only as honest as the person holding it.
Access tools: screwdrivers, nut drivers and panel openers
Before anything can be seen, something has to be opened. A basic bag therefore contains screwdrivers, nut drivers and sometimes small pry tools for removing register faces, grilles, filter doors and air handler access panels. These are ordinary hand tools, but how they are used says a lot. A careful technician removes a grille without scarring the wall, keeps the screws together, sets the grille where it will not scratch a floor, and puts it all back the same way.
Opening the air handler cabinet is a bigger step. The blower compartment, the coil and the drain pan are all behind panels that are often fastened with screws and sealed with foil tape. A technician may need to cut and re-tape the seal, and a proper job includes sealing it again afterwards so the cabinet does not leak conditioned air. If a panel cannot be removed safely, a good technician says so and explains what could not be inspected instead of skipping it quietly.
There is also a boundary between inspection and repair. Opening an access panel to look is normal. Cutting into a trunk line, a plenum or a wall to make a new access hole is a larger decision, and it should be explained to you before it happens. Where accessible, existing service openings are used first. Related reading on where those openings are found is in duct access points and panels.
Measuring tools: airflow, temperature and moisture
Evidence is not only visual. Several measuring tools help a technician understand how the system is behaving, which matters because a dirty duct and a weak duct are different problems. A temperature probe or thermometer can compare the air going into the system with the air coming out of a register, which indicates whether the cooling process is working as expected. An airflow meter or a simple anemometer shows whether a register is delivering a reasonable amount of air or very little.
A moisture meter, and often a humidity reader, is also part of a thoughtful kit in South Florida. Humidity is a constant here, and many problems that look like dirt are actually moisture: beading on a duct, damp insulation, a stained ceiling near a register. A meter can tell the difference between a surface that looks wet and one that is genuinely damp. Reading levels and what they suggest is covered in moisture readings and humidity.
None of these devices gives a verdict by itself. A low airflow reading could mean a clogged filter, a closed damper, a collapsed flex run, a failing blower or a closed supply register in a room. The reading is a clue that points the technician toward what to look at next. Be cautious about any visit where a single number is presented as proof of a duct cleaning need. Measurements support a conclusion alongside visual evidence, and they are most useful when written down with the location where each one was taken.
Protection gear and floor coverings
A technician working in your home also brings items that protect the home. Shoe covers or clean footwear, floor runners, drop cloths, and a small vacuum or dust catching bag all signal respect for the space. Attic work adds more: knee pads, gloves, a respirator or dust mask, eye protection and often a hat, since attics in South Florida are hot, dusty and crowded with insulation fibers and sharp fasteners.
Protective gear matters for two reasons. It shows the technician expects to disturb dust and plans to keep it from landing in your living area. It also reflects a professional attitude to safety that extends to other parts of the job, such as how electrical power to the air handler is handled before a panel is opened. You should never be asked to turn off a breaker or climb into an attic yourself. Those steps belong to the person doing the work.
If you have pets, an infant, or someone with a medical concern in the home, mention it when the visit is scheduled, so the technician can plan how doors, rooms and equipment will be handled. You are not expected to leave your home during a basic inspection, but a conversation about where the technician will be working and where your pets and family should stay is a normal and welcome part of the visit. Preparation steps are laid out in preparing your home for a duct visit.
Recording tools: camera, notes and the written report
The last category is the one that decides whether you leave with evidence or only a conversation. A phone or tablet for photographs, a notepad or digital form for readings, and a way to produce a written summary together make the visit documented. Photographs should show locations clearly, with a wide shot first and a close shot second, so that you can tell which register or which compartment is pictured.
A written summary should list what was inspected, what was found, what was not accessible and what is recommended, in plain words. It should not rely on frightening adjectives or unexplained jargon. What a report should contain is described in what the written report should say, and the broader habit of keeping photos and notes is covered in photo documentation.
If the visit ends with a recommendation, you should be able to connect each part of it to something you were shown. Whole-system cleaning, cleaning a single component, sealing a leak, replacing a filter, fixing a drain line or doing nothing at all are all possible outcomes, and a good toolkit helps the technician tell which one is right. Keep your copy of the findings. It becomes a baseline you can compare with the next visit, and it keeps everyone honest about what changed.
Tools that should raise a question
Some items are not a problem, but they deserve a calm question. If a technician arrives with no camera, no light and no way to open an access point, ask how the ducts will be inspected. If the plan relies on a single glance through one register and a recommendation for a full system cleaning, ask what in that glance supports the recommendation.
The reverse also happens. A technician may arrive with a van full of cleaning gear but no recording equipment, and begin work without any documentation of the starting condition. Without a before record, there is no after comparison, and you are asked to trust that the work was needed and done. A modest request is enough: please photograph the condition before and after, and list what was cleaned.
Chemical sprays and sanitizers are another example. Their use is a separate decision that should be explained, with the reason and the product named, before anything is applied. A neutral overview of that topic is in duct sanitizer and treatment questions. A tool or product that appears without explanation is a reason to pause the visit and ask. A professional answer comes easily and without defensiveness, and a vague or irritated answer is useful information too.
How to use this list when you book
You do not need to memorize every instrument. A simple way to use this page is to ask three questions when you call. What will you use to see inside the ducts? How will the findings be recorded and shared with me? What happens if something cannot be reached? The answers set the tone for the visit and tell you whether the company works from evidence.
Quotes are given by phone, and complicated jobs need an on-site visit. There is a service call charge, which is explained on the phone before anyone is dispatched, so nothing about the visit should be a surprise. Use the call to describe what you have noticed at home, such as dust, an odor, weak airflow or a stain, and let the technician tell you what will be looked at and why.
When you are ready, call to describe the situation and ask how the inspection will be carried out. Have a few notes ready: when the system was last serviced, what you have seen at the registers, whether anyone in the home has concerns, and how to reach the attic or closet that holds the air handler. A clear conversation before the visit makes the visit itself shorter and more useful, and it leaves you holding evidence instead of impressions.
Questions people ask
Do I need to be home while the technician uses the camera?
It is a good idea. Being present lets you watch the screen, ask questions about what appears and see which registers or compartments are being checked. You do not need to follow the technician into an attic. Someone who can open the door, point out the air handler and review the findings at the end is enough for most visits.
Will opening panels and registers damage my home?
Careful work should not. Register faces and cabinet panels are made to be removed, and a technician who handles them properly will put each one back in its original position. If a panel is stuck, brittle or sealed in a way that could be damaged, a good technician tells you and explains what could not be inspected rather than forcing it.
Is a camera inspection always necessary?
Not always. For a small, accessible system, a light, a mirror and a look at the air handler may answer the question. A camera becomes more valuable when runs are long, hidden or unusual, or when you suspect moisture, debris or pests. The right level depends on what you have noticed, which is worth describing on the phone.
Why does the technician measure airflow or moisture?
Because a duct can be dirty, leaky, wet or restricted, and those are different problems with different fixes. Measurements help separate them. A weak register might point to a filter or a damper instead of dust inside the duct. Readings are clues that sit next to what was seen, and they should be recorded with their locations.
Can I keep the photos and notes from the visit?
You should be able to ask for them. A written summary with representative photos is a reasonable expectation, and it gives you a baseline for later comparison. If the technician or company cannot provide any record of what was found, that is worth raising before you agree to any further work.
What should I do if the technician arrives without any inspection tools?
Ask politely how the ducts will be examined and how findings will be recorded. A visit with no light, no way to open access points and no documentation cannot produce evidence. You can pause, call the office, and ask for the inspection to be carried out properly or rescheduled. When you are ready to arrange a visit, call and describe what you have noticed.
Describe the situation by phone and we will tell you what the job involves. Quotes are given by phone. Jobs that cannot be quoted without seeing them need a technician on site, and the service call charge is explained on the phone before anyone is dispatched.
Related pages
- How Inspection Works: Follow an air duct inspection from the front door to the written findings: what is checked, what is photographed and what you should be shown before any work.
- Camera Inspection: A duct camera lets a technician see inside runs you cannot reach. Learn what footage can and cannot show, and how to treat it as evidence, not a sales tool.
- Photo Documentation: Before and after photos are only useful if they are honest. See what a good duct photo set contains, how it is labeled and how to spot a misleading one.
- Questions to Ask: The questions that bring scope, method and findings into the open while the technician is still at your home, with what a good answer sounds like.
- Access Points: How technicians get into ducts: existing openings, cut-in access panels, the materials used to close them and what to expect to see afterward in your home.
- Testing: Learn the narrow cases where air or surface sampling adds value before duct cleaning, who should collect samples, and when a photo and a plain look are enough.