
Why the inspection comes before everything else
People often call about a symptom: dust that keeps returning, a smell from the vents, a stain on a register, weak airflow in one room. Each of those can have several causes, and only some of them involve dirty ducts. A dusty home might be a filter problem. A smell might come from a drain pan. A stain on a register might be condensation, not growth. Without looking, nobody can honestly tell which is true.
That is why an evidence-first company inspects before it recommends. The inspection turns a vague worry into a set of facts that you can see for yourself, usually in photographs. It also protects you. If the ducts are fine, you are told so, and you do not pay for work you did not need. If they are not, you can see exactly why.
An inspection is not a sales presentation. It is a look at the system by someone who knows what normal looks like in South Florida homes, where long humid summers, attic ducts and slab construction shape what is found.
Step one: the phone call
It starts with a conversation. You describe the home, the type of system if you know it, how many air handlers there are, where they are and what you have noticed. You mention any recent work, water events, pests or a change in how the system behaves. The company listens, asks questions and decides whether a phone quote is reasonable or whether an on-site visit is needed first.
Quotes are given by phone only. A simple, clear job can often be understood from the call. A complicated one, with several systems, hidden or attic runs, suspected water damage or unclear symptoms, needs someone to see it before a number makes sense. There is a service call charge for that visit, and it is explained on the phone before anyone is dispatched, so you know what to expect.
This is also the time to ask your questions: how the visit is documented, what photographs you will receive and how the findings are delivered. A company that answers clearly at this stage is likely to be clear later too.
Step two: arrival and a walk through the home
On arrival the technician introduces themselves, confirms what you are concerned about and asks to see the equipment. A quick walk through the home shows the layout: how many floors, where the registers and returns are, which rooms are the problem. They may note room temperatures and airflow by feel or with a simple instrument, and whether any rooms are closed off.
This is when you mention anything you have not yet said. A new roof, a washing machine leak, a pet, the smell that comes at night. These details guide where the technician looks. Do not worry about telling too much. Small observations often turn out to matter.
If someone in the home has a health condition that makes dust or chemical products a concern, mention it now. It will not change the facts of what is found, but it can change how the work is carried out.
Step three: the filter and the equipment
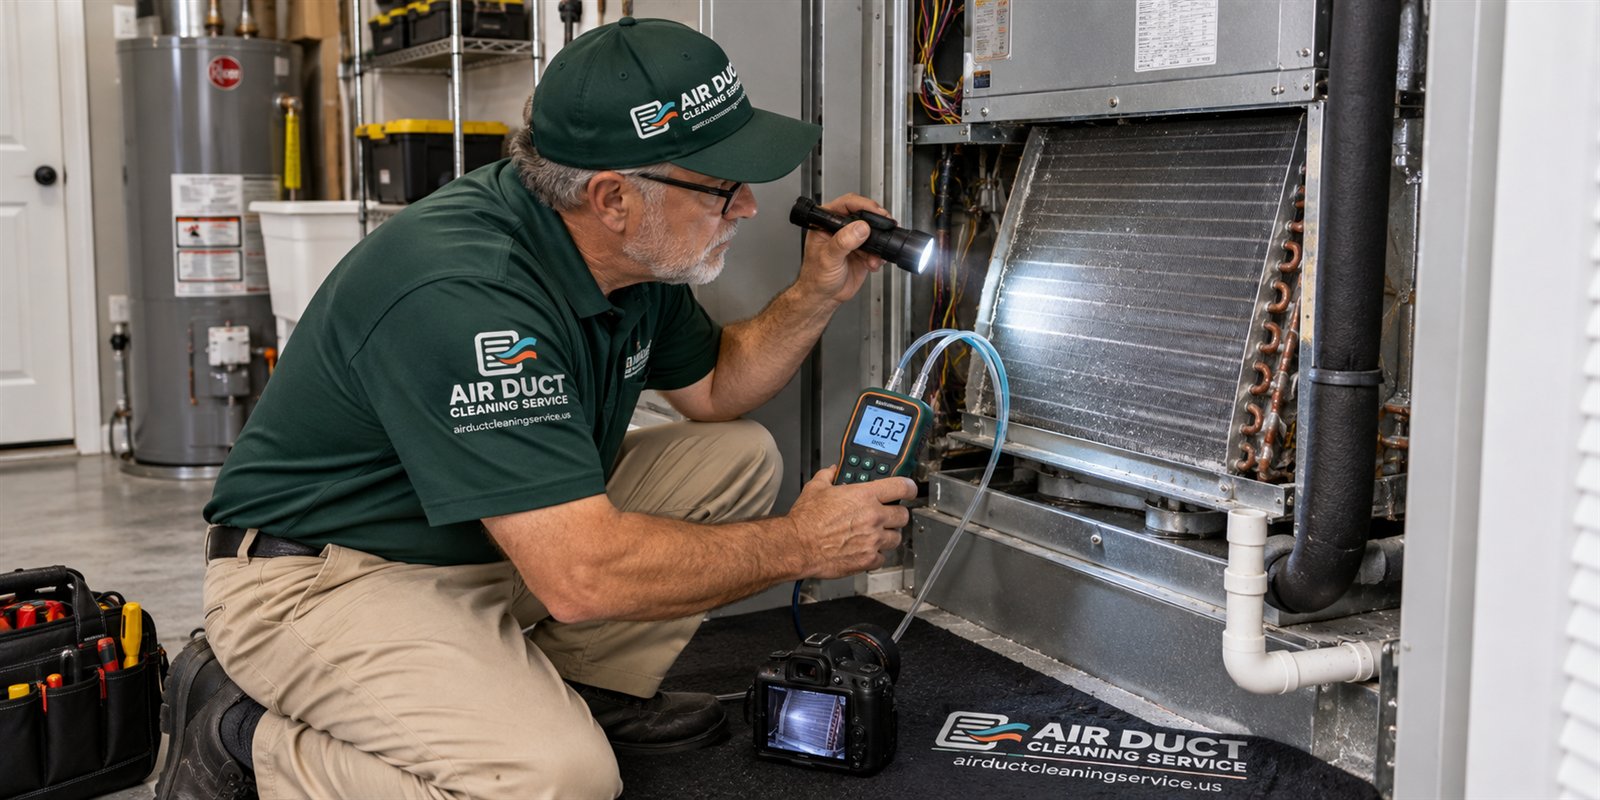
The air handler is the heart of the system, and the first things to check are the easiest. The filter: is it there, is it the right size, is it seated properly, how loaded is it and with what? A filter packed with gray lint tells a different story from one with pale powder or pet hair. Then the technician looks at the equipment closet or enclosure for water marks, rust or mold-looking spots, and checks the area around the drain line and pan.
Where the cabinet can be opened safely, the blower compartment and the face of the coil are looked at with a light. Dust packed on a blower wheel reduces airflow. A mat of dust on the coil can reduce cooling and cause icing. These parts are sometimes the real cause of the symptoms that brought you to call.
This part of the inspection is limited by what can be reached without taking apart the equipment. A technician should tell you what they could see and what they could not. For more on the first things to check, see checking the filter first.
Step four: registers, grilles and the first stretch of duct
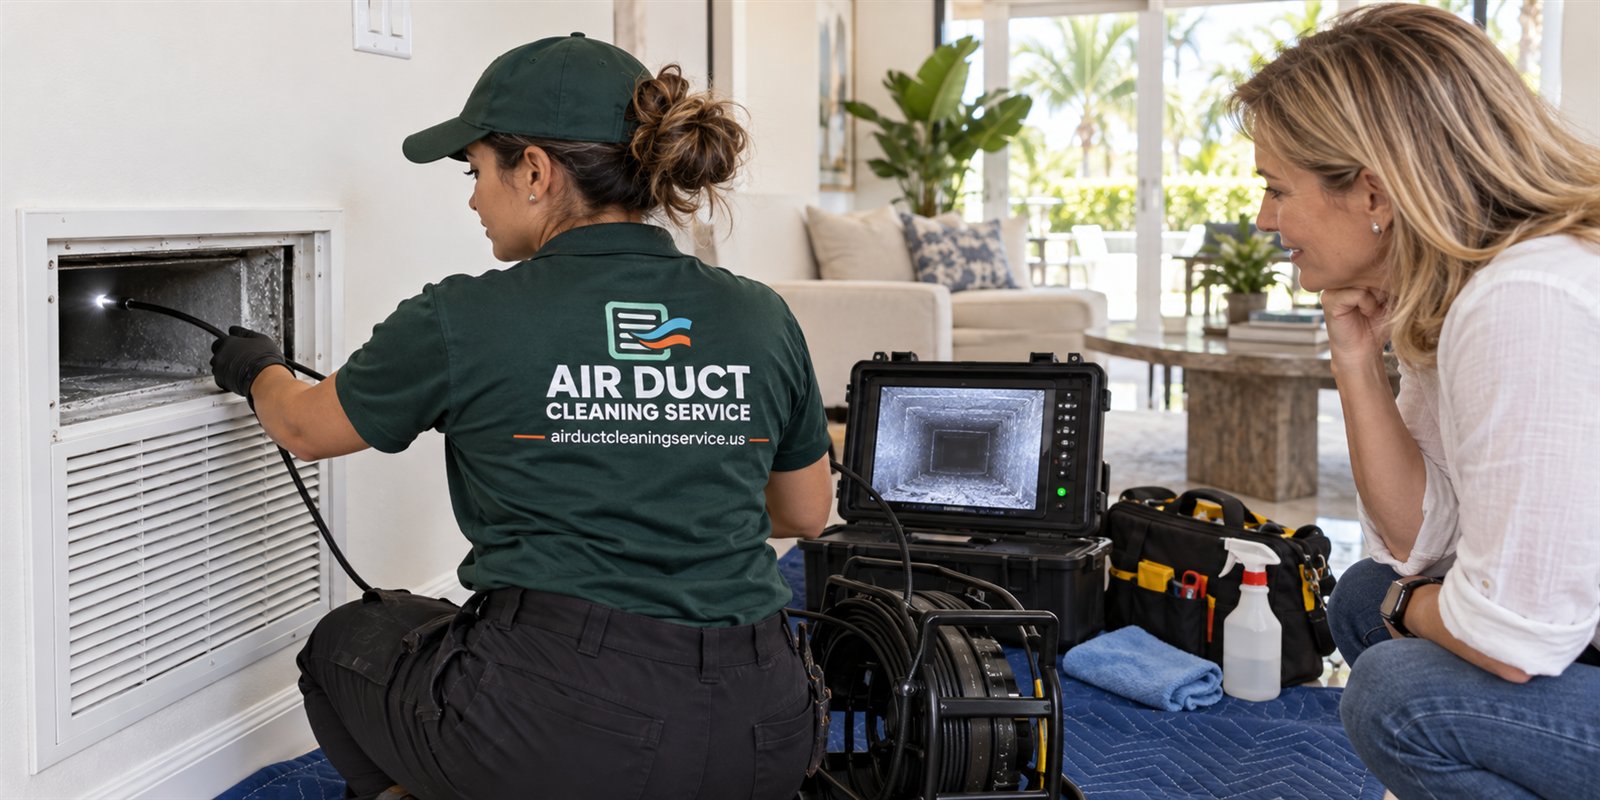
Next come the openings. Supply registers and return grilles are removed, which usually takes a screwdriver and a minute each. Behind each one is the first view into the system. The technician looks at the boot or the return box, the insulation and any dust, hair, debris, stains or damage. A flashlight shows the first few feet of duct, and a camera can follow a run farther.
A sampling of registers is looked at in each area of the home, particularly those near the air handler, those in rooms with complaints and the farthest ones. A single clean register does not prove the rest are clean, and a single dirty one does not prove all are dirty. Looking at several gives a picture of the whole.
Throughout, photographs are taken. Each should show the location clearly, with a bit of surrounding context so you can tell where it was taken. If you want to see something up close, ask. A technician should be willing to show you what they are looking at in real time on a phone or a screen.
Step five: the camera and the attic
When a run is long, bent or hidden, a small camera on a flexible cable lets the technician look inside without opening the duct. Footage shows the inner surface, the amount of debris and any damage or disconnection. The attic, where ducts often sit in South Florida homes, may also be inspected, safety and heat permitting. The limits of that work are described in the page on camera inspection of air ducts.
Not every inspection includes the attic. If the heat is dangerous, the access is poor or the ducts are buried, the technician will say what could and could not be seen and may suggest another approach. It is better to be told a run was not reached than to be told it was clean when nobody looked.
Some systems have a mix of materials. Flexible duct in the attic, sheet metal trunks near the air handler and duct board in some homes each look different when they are dirty and respond differently to cleaning. The inspection takes note of what each section is made of.
Step six: moisture, leaks and damage
In Florida moisture is as important a finding as dust. The technician looks for damp insulation, water on duct jackets, rust at the air handler, stains on ceilings near registers and any smell of damp. They check whether the drain line is flowing and whether the pan is clean. They note any duct that is crushed, disconnected, torn or sagging, and any loose joints or boots.
These findings are not cleaning findings. A wet duct should be dried and its cause found. A torn duct should be repaired. A disconnected boot should be reattached. The technician reports each of these with photographs and suggests that a qualified HVAC contractor handle them. If the recommendation is to clean after repair, that order is stated.
Visible mold-looking growth is described and photographed as what it appears to be. A visual impression is not a laboratory result, and a technician should not name a specific organism by sight. The difference between a visual finding and a test is covered in sampling versus visual evidence.
Step seven: the findings and what they mean
After the look, the technician sits down with you and goes through the photographs. They explain what is normal, what is a concern and what is a cleaning candidate. They say what could not be reached. They may recommend nothing at all, a filter change, a repair first, a cleaning of part of the system or a cleaning of the whole system. Each recommendation should be tied to a photograph.
You should also be told what cleaning would involve, how long the work is likely to take at a general level and what you need to do to prepare. We do not promise arrival windows, and the technician should not promise outcomes that cannot be verified, such as improved health. A plain statement is that cleaning removes debris that you were shown, and that is all it claims.
If a price is discussed beyond the phone quote, it is because the findings changed the scope, and the new scope should be explained before work begins. Nothing is done until you agree.
Step eight: the written record
A good inspection leaves a record. At minimum, you should have a list of what was examined, what was found, the photographs and any recommendations. It should say what was not examined and why. If you did not receive anything in writing, ask for it. A record lets you compare future visits, share findings with an HVAC contractor or an insurance adjuster and make an unhurried decision.
The page on what the written report should say goes through the parts of a useful report. Keep it with your other home records. A separate evidence checklist lists what to expect to see in the photographs.
If you decide not to proceed, that is your right. The report is still yours, and it may be useful later. If you decide to proceed, the same record becomes the baseline against which the after-cleaning photographs are compared.
Three examples of how findings differ
Consider a two-story townhouse with an air handler in an upstairs closet and ducts in the attic. The owner calls about dust. The technician finds a filter that is new, registers that are lightly dusty, a clean blower and a duct interior with only a thin even layer. The finding is that the ducts are fine, and the dust is likely coming from the house itself, so the advice is to keep up with filter changes. No cleaning is recommended.
Now consider a single-story home with a closet air handler where the owner mentions a musty smell that began after a roof leak. The technician finds a damp stain on a ceiling near a supply register, wet insulation on the outside of a duct in the attic and a drain pan with standing water. The finding is a moisture problem. The recommendation is repair and drying first, and cleaning afterward only if the photographs of the duct interior still support it.
Finally, a condo where a tenant has just moved out. The technician finds a mat of pet hair at the return, heavy dust on the blower wheel and a coil face covered in lint. The finding supports cleaning the blower and coil area and the return, with the rest of the ducts looked at by camera. Three homes, three different answers, each based on what was seen.
What you can do to prepare
A little preparation helps the visit go smoothly. Make a short list of what you have noticed, with dates if you can. Clear the way to the air handler and any attic hatch. Have the filter size ready, and the date of the last change. Know the age of the system if you do, and whether anything has been replaced.
Take your own photographs before the visit: the old filter, a close view of a dirty register, any stain or damp spot. They give you a record that is yours and help you check that what the technician shows matches what you saw. Keep pets in another room and make sure the technician can reach each room.
A fuller checklist is on the pre-visit preparation page. Having these items ready does not make the inspection better. It just makes it faster to carry out and easier for you to follow.
- A short list of symptoms, with when they started
- Clear access to the air handler, closets and any attic hatch
- Filter size and date of last change
- Your own photos of the filter, registers and any stains
- Notes on recent work, leaks, pests or storms
What an inspection cannot tell you
Be realistic about the limits. A visual inspection cannot tell you what is in the air, what microbes might be on a surface or what is causing a particular person's symptoms. It shows dust, debris, moisture, damage and signs of growth where they can be seen. Parts of the system behind walls, under insulation or beyond the reach of a camera stay unknown.
It also cannot predict how long a clean system will stay clean. That depends on the filter, leaks, the home and the season. And it cannot replace a diagnosis by an HVAC technician when the system is not cooling properly. A duct inspection and an equipment inspection are related but different, which is covered in HVAC inspection versus duct inspection.
Honest limits are a feature. A technician who tells you what the inspection cannot show is more believable than one who says it can show everything.
How to decide after the inspection
Once you have the findings, take your time. The evidence will not change in an afternoon. Ask yourself whether the photographs show something you would want removed, whether repairs need to come first and whether any part of the recommendation seems out of proportion to what you were shown. If something does not add up, ask for the photograph that supports it.
It is also reasonable to ask for a second opinion, and a company that is confident in its findings will not mind. If you do get another view, compare the photographs, not just the recommendations. Two honest inspectors looking at the same duct will usually describe the same thing, even if they would choose differently about what to do.
When you are ready, call and tell us what you were shown and what you would like to do, and we will talk through the next step.
Questions people ask
How do I know the inspection was honest?
You should be shown photographs or camera footage of what was found, labeled by location, and told what was not reached. Each recommendation should point to something you can see. If you are given no photographs, or findings that cannot be matched to anything visible, ask for evidence or get a second opinion before agreeing to work.
Do I have to pay for an inspection if I decide not to proceed?
A simple job can often be quoted by phone without a visit. If an on-site visit is needed, there is a service call charge for it, and it is explained on the phone before anyone is dispatched. You should know that before you agree to the visit, and it is reasonable to ask for the details beforehand.
Will the technician open every register?
Usually a representative set is opened, including those near the air handler, in rooms with complaints and at the far ends of runs. Opening every register is not always needed, but you can ask. A single clean or dirty register does not describe the whole system, so several are checked.
What if the technician finds nothing wrong?
Then that is the answer, and it is a useful one. You should be told that the ducts look acceptable, perhaps with a note to keep up with filter changes. A good inspection does not need to end in a sale. You keep the photographs as a baseline for comparison later.
Can I watch the inspection?
Yes, and it is a good idea. Ask the technician to show you what they see as they go, on a phone, a screen or by pointing it out with a light. Being present helps you understand the findings and makes it easier to ask questions on the spot.
Does the inspection include testing for mold?
A standard inspection is visual. It records what can be seen and describes growth-looking material as it appears. Laboratory sampling is a separate step with its own limits, and it is not needed in every case. If you want testing, ask about it by phone so the plan is clear before the visit.
Describe the situation by phone and we will tell you what the job involves. Quotes are given by phone. Jobs that cannot be quoted without seeing them need a technician on site, and the service call charge is explained on the phone before anyone is dispatched.
Related pages
- Camera Inspection: A duct camera lets a technician see inside runs you cannot reach. Learn what footage can and cannot show, and how to treat it as evidence, not a sales tool.
- Photo Documentation: Before and after photos are only useful if they are honest. See what a good duct photo set contains, how it is labeled and how to spot a misleading one.
- Evidence Checklist: A plain checklist of the proof to expect before, during and after a duct cleaning: photos, readings, written notes and answers, so you pay for what was done.
- Prepare for Visit: A practical checklist for the day of a duct inspection: access to the air handler and attic, pets, valuables and the notes that make the visit smoother.
- Home Duct lleaning: Step by step, what a whole-house duct cleaning visit includes for single-family homes in South Florida, from inspection and photos to the final check.
- Leakage Signs: Dirt streaks, loose joints, gaps at boots and disconnected runs are the leak clues an inspector notes. See what they look like and why leaks come first.