
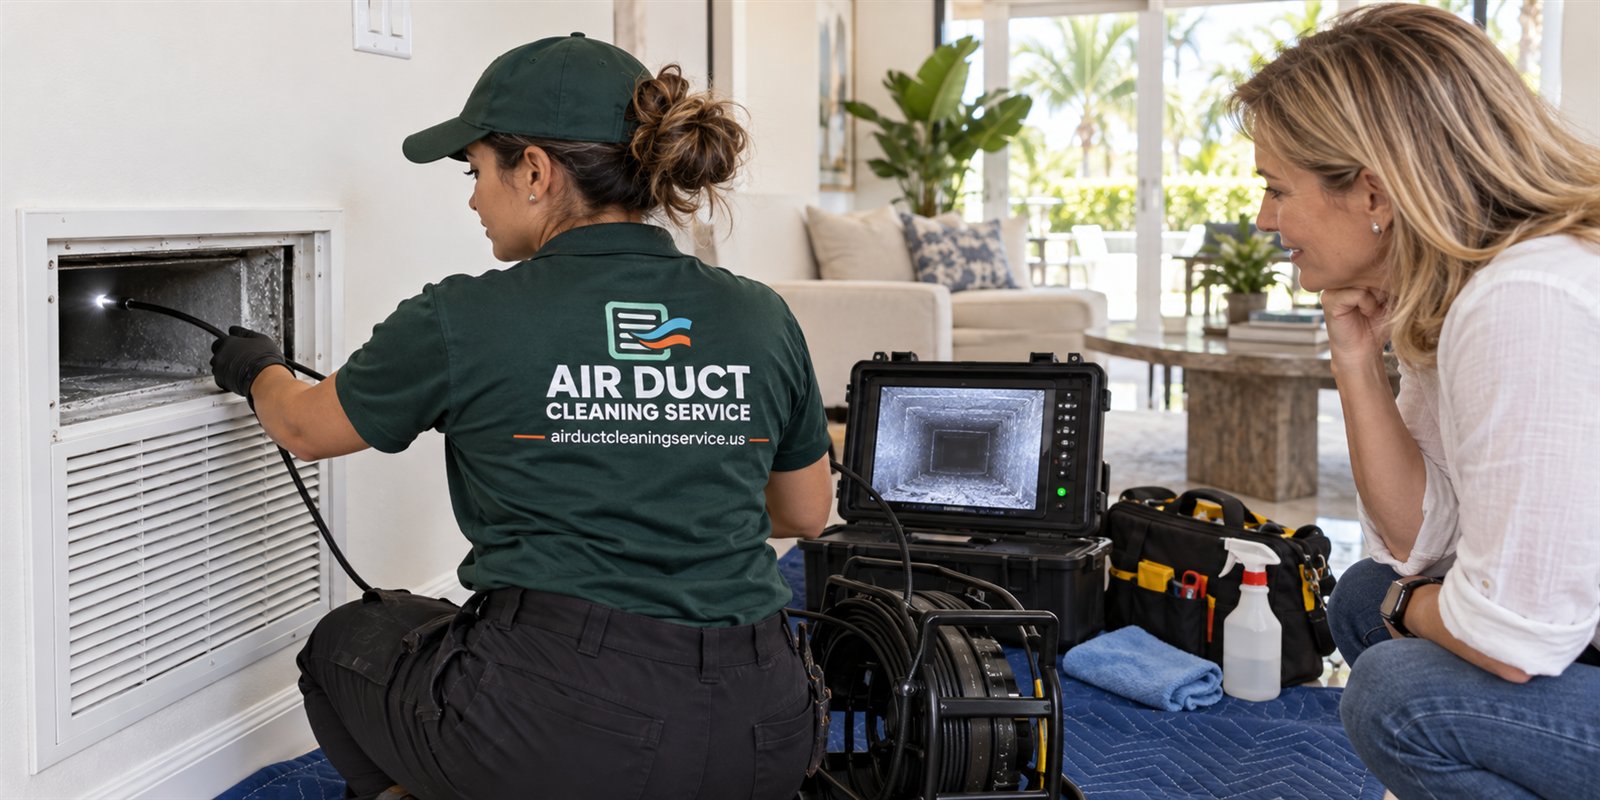
Why moving day is a useful window
A home is easiest to inspect when it is empty. There is no furniture blocking registers, no rugs hiding floor vents, and you can walk from room to room at your own pace and feel the air coming out. Once boxes arrive and couches are placed, the chance to notice a weak register, a dusty return or a stained ceiling disappears under the clutter of daily life.
In South Florida the stakes are a little higher than in a mild climate. An air conditioner runs for most of the year, a home that has been vacant has often been closed up with warm, humid air, and previous occupants may have left the system in any condition. A short, calm look on day one gives you a baseline, and a few photographs give you a record you can compare against later.
This is not a call to book cleaning on arrival. A new owner or tenant has no reason to assume the ducts are dirty just because the home changed hands. The right approach is to look, photograph, replace the filter and decide later, with evidence, whether anything more is needed. Our guide to move-in duct cleaning explains when more attention does make sense.
Before the movers arrive: the first ten minutes
As soon as you have keys, and before any boxes come in, walk through the home with the system running if the utilities are on. Stand in each room and feel for air at the supply register. Note any room where nothing seems to move, any register that rattles, and any smell as you enter. A stale, closed-up smell on the first visit is common and often fades once the home is aired out and the system has run for a day.
Take a quick photograph of each register and each return grille. These are your before pictures. They show the condition of louvers, ceiling surfaces and any staining. If you see dark streaks, an odd film or what looks like growth, take a close photograph as well, and do not wipe it off yet, since the evidence is worth keeping. You can read how to interpret such marks in visible mold versus dust.
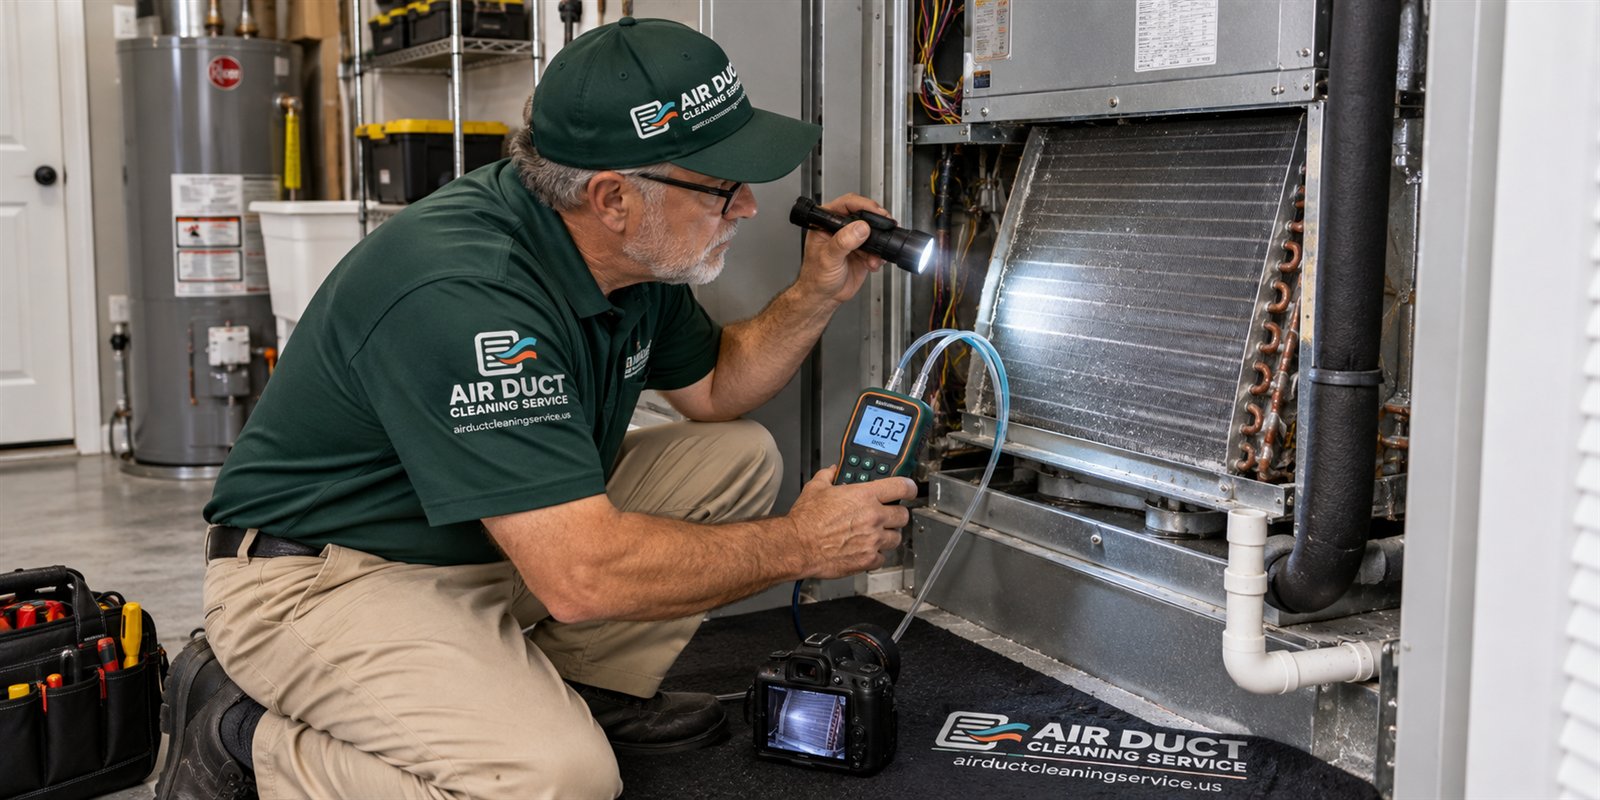
Locate the air handler and the thermostat. Note where the filter lives and whether a filter is in place. Many moves reveal a missing filter or one that has been installed backwards, so a quick look pays off. If the utilities are not yet on, do the visual parts of this list and come back to the airflow checks once power is connected.
Find and replace the filter on day one
Replace the filter before the system runs a full day in your new home. Previous occupants may have left a loaded one, or no filter at all. Find the slot, which may be behind a return grille in a hallway ceiling, at the air handler closet or inside a return opening in a wall. Switch the thermostat off, slide the old filter out and note its size, which is printed on the frame.
Photograph the old filter. A heavily matted, damp or stained filter tells you something about how the previous household used and maintained the system. A clean filter in a vacant unit that has been empty a while tells a different story. Replace it with a new filter of the same size, with the airflow arrow pointing toward the air handler, and write the date on the frame.
If the slot is an odd size, or if you cannot figure out where the filter belongs, do not force a substitute. Take a clear photograph of the opening and measure the slot carefully. Our guides on filter size and placement and filters and MERV ratings give practical background. If the system has no filter slot at all, that is itself worth noting for a technician.
Look at the air handler and drain area
In many homes the air handler sits in a closet, a utility room or the attic. Without opening the unit or touching anything electrical, look at the surroundings. Is the closet used for storage? Boxes and cleaning supplies packed against the unit restrict airflow and make inspection hard. Is there water on the floor, a rust stain, a damp spot or a musty smell? Any of those suggest the condensate drain has had trouble in the past.
Look for a secondary drain pan under the unit and a float switch, which is a small device on the drain line that shuts the system down if water rises. You are not testing these, only noting whether they exist and whether they look tidy or corroded. A technician can test them if you want confirmation.
In an attic installation, only look from the access point. Hot attics are dangerous to enter without preparation, and the floors are often just ceiling drywall that cannot bear weight. If anything looks wrong from the opening, photograph it from there and ask a professional. The safety notes in attic inspection safety explain why.
Check each room for blocked or weak registers
With the system running, go room to room again and compare airflow. Use the back of your hand or a tissue strip. You are looking for a register that feels much weaker than the rest or does not seem to move air at all. Check that dampers, where present, are open, and that no register is physically covered by paint, tape, plastic or construction residue. In a recently renovated or freshly painted home, registers are sometimes painted shut or partly blocked by sealant.
A weak register can have simple causes, such as a closed damper or a covered opening, and some less simple ones, such as a disconnected or crushed flex duct in the attic or a leak in a branch. You cannot sort those out from the room. What you can do is document which rooms are weak, at what time of day, and with the door open or closed. That is exactly the information a technician will ask for on the phone. See weak airflow from vents for how those causes differ.
Also confirm that every bedroom and closed room has some way for air to return, such as a return grille or a gap under the door. A sealed room with a supply register and no return path becomes pressurized, which hurts comfort and can push humid air through gaps in the building shell.
Signs worth documenting before you unpack
While the rooms are empty, look for visible signs that might matter later. Ceiling stains near registers or under an attic air handler, peeling paint around a vent, a damp-looking wall near a return, dark growth-like marks on surfaces, droppings or insect parts near registers, and a persistent odor. Not all of these mean a duct problem, and many have causes outside the system, such as a roof leak or a plumbing issue.
Photograph each one with a ruler or a coin for scale and a wide shot for context. Record the date. If you are renting, send those pictures to the landlord or manager promptly, since early notice shows the condition existed before you moved in. If you have just bought, they may matter for a conversation with the seller or an insurer, and they will help a professional understand what they are looking at.
If you see signs of active water, strong musty smells or suspected growth, avoid running the system extensively until it has been looked at. Moving air through a wet or contaminated system can spread the problem. The pages on musty smell from vents and pests in ductwork explain what each sign can mean.
Decide whether cleaning makes sense, using evidence
There are good reasons to consider professional cleaning in a newly acquired home: visible heavy debris at registers, signs of pests, remnants of construction or renovation dust, water damage, or a persistent odor that does not clear. There are also poor reasons, such as the idea that every home needs cleaning at move-in. That belief is not supported by evidence, and it does not hold up in a home with a clean filter and ordinary registers.
A sensible path is to replace the filter, run the system for several days and see how it behaves. If a smell lingers, airflow is poor or you spot specific signs, request an inspection with photographs of the inside of the system. A good inspection shows you what is there and what is not, so the decision becomes yours and is based on pictures rather than a sales pitch. The decision guide on whether you need duct cleaning is built for this exact situation.
If you are buying and still in the inspection period, ask about the system at that point rather than after the move. A buyer's guide to the same topic is at home buyer duct guide.
If you are the one moving out: leave the system in order
Moving out is the other side of the same list. If you are leaving a rental or selling a home, a short routine protects your deposit, your reputation and the next occupant. Install a fresh filter of the correct size. Wipe visible dust from register louvers and return grilles with a damp cloth. Make sure nothing is stored against the air handler, and sweep the closet floor.
Take photographs of the finished condition: filter in place, clear registers, clean closet, thermostat set to a sensible mode. Date them and keep them. If a landlord or buyer later claims you left the system dirty or damaged, those photographs are evidence. For landlords and tenants, the pages on landlord duct responsibilities and tenant duct concerns describe who typically handles what.
Leave the thermostat in a safe state. In a vacant South Florida unit, switching the system off completely invites humidity and musty smells. A modest steady setpoint is better, and the property manager or incoming occupant should be told. Leave a note with the filter size and location, since the next person is likely to wonder.
How the checklist changes for a condo, a rental or a single-family house
The same steps apply everywhere, but the details shift with the type of home. In a single-family house, the air handler may be in the garage, a closet or the attic, the ducts run through an attic space, and the outdoor unit belongs to you. You are the one who will handle a drain or filter problem, so the more you learn on day one, the better.
In a condominium, the air handler is usually in a closet inside the unit and the outdoor condensing unit is on a balcony, a roof or a shared pad. The association may have rules about who may service equipment, and the building may share drain lines or risers. Ask the management office before assuming what you may touch. Odors can also travel between units through shared chases and returns, which is covered in condo neighbor odor through ducts.
In a rental, the lease or the landlord usually decides who changes filters and who pays for repairs. Ask in writing before moving in, and keep your photographs. A rental unit that has sat vacant between tenants is more likely to have a closed-up smell and a neglected filter, so the first-day filter change matters even more there.
Whichever applies, the principle is the same: look first, document, replace the filter and then let evidence guide any further step. A calm routine on moving day costs very little and avoids guessing later.
A moving day checklist you can copy
The steps below fit into a short, patient walk-through. Work through them with the water, power and system on if possible, and keep your phone handy for pictures.
Save the photographs in one folder labeled with the address and move date. If a question arises months later, whether about an odor, a stain or a repair, that folder will answer it quickly.
- Walk each empty room with the system running and feel the air at every register
- Photograph every register and return grille before furniture arrives
- Locate the filter, photograph it, then replace it with the correct size and write the date
- Look around the air handler for water, rust, storage clutter or odor
- Check the outdoor unit for debris, damage and a steady drain drip on a humid day
- Note rooms with weak airflow and whether doors were open or closed
- Look for ceiling stains, damp spots, droppings or growth-like marks and photograph them
- Make sure every closed room has a return path
- Set the thermostat to a steady, sensible setting and fan on auto
- Decide after a few days whether anything justifies an inspection
Making the call, and what to have ready
If something on the list needs a professional, the call is simple. Have your address, the type of home, whether the system is in a closet or attic, and your photographs ready. Say what you saw, when it happened and whether the home had recently been vacant, renovated or affected by a leak. Those details shape what the technician will check.
Quotes are given only by phone. For simple jobs that can often be settled in the conversation, and for complicated jobs an on-site visit is arranged, with a service call charge explained on the phone before anyone is dispatched. The visit does not have to end in cleaning. A clear written report showing that the system is in ordinary condition is a perfectly valid result.
If you want a second set of eyes on the system before you settle in, call, describe your move and ask what an inspection would involve. A few minutes now is easier than untangling a smell or a stain after the furniture is in place.
Questions people ask
Should I have the ducts cleaned before I move in?
Not automatically. Cleaning before move-in is only worth it if there is evidence, such as heavy debris at registers, pest signs, recent construction dust, water damage or a lingering odor. Otherwise, replace the filter, run the system for a few days and watch for problems. An inspection with photographs can settle the question.
What is the first thing to do with the air system in a new home?
Find and replace the filter. Previous occupants may have left a loaded filter, a wrong-sized one or none at all. A correct, fresh filter protects the system from the first day and gives you a documented starting point. Write the date on it and photograph the old one.
A new home smells stale. Is that a duct problem?
Often it is simply closed-up air from a vacant home, which usually fades after airing out and running the system for a day or two. If the smell stays strong, smells earthy or sour, or is worse near registers, look at the filter, drain and air handler for moisture and consider an inspection.
Do I need to photograph the registers?
It is a good habit. Dated pictures of registers, the filter and the air handler area show the condition when you arrived. They help if a landlord, seller, insurer or technician later asks what was there. Take wide shots for context and close shots of anything unusual.
I am a tenant. What should I do if I find signs of mold or pests?
Photograph the signs, note the date and notify the landlord or property manager in writing promptly. Avoid disturbing the area or cleaning it away, since evidence helps. Consider asking for a professional inspection and avoid running the system heavily until it is looked at.
What should I leave behind when moving out?
Leave a fresh filter of the correct size, clean register faces, a clear space around the air handler and the thermostat set to a sensible mode. Photograph the finished condition and leave a note with the filter size and location for the next occupant.
Describe the situation by phone and we will tell you what the job involves. Quotes are given by phone. Jobs that cannot be quoted without seeing them need a technician on site, and the service call charge is explained on the phone before anyone is dispatched.
Related pages
- Move-In Cleaning: An empty home is the easiest time to inspect and clean ducts. See what to check before furniture arrives and what to ask the seller or landlord.
- Home Buyers: A buyer's guide to duct condition: what a standard home inspection covers, what to ask for, which signs matter and how to use findings in negotiation.
- Home Sellers: How a sensible look at your ducts before listing can help: documenting condition, answering buyer questions and deciding what is worth fixing or cleaning.
- Prepare for Visit: A practical checklist for the day of a duct inspection: access to the air handler and attic, pets, valuables and the notes that make the visit smoother.
- Dryer Vent Reroute: When a long or bent dryer vent run justifies a new path, what evidence points to rerouting, and why the work should be done by someone qualified.
- Seal First: The order of duct repair, sealing and cleaning, and why it matters: leaks that feed dust, work that stirs it up and how to sequence jobs in a Florida home.