
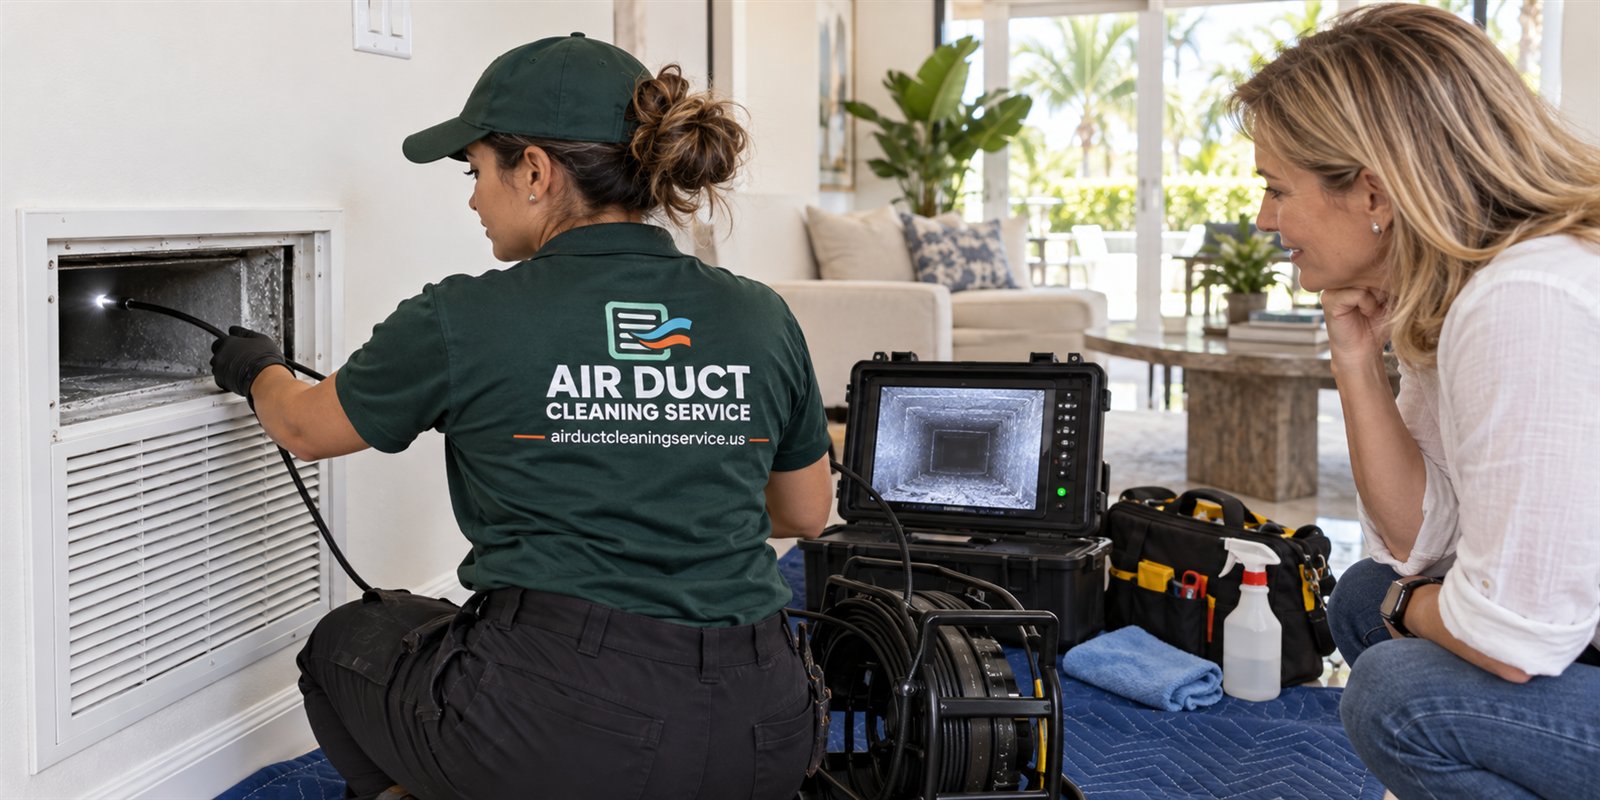
Why verification is a separate step
Cleaning and verifying are two different acts. The cleaning removes material from surfaces. The verification confirms that the surfaces are in the condition the job promised, using something you can see or measure. Without that second step, you are accepting that the work was done on trust, and trust is exactly what an evidence-first approach tries to replace with a record.
The need for a separate step comes from the nature of ducts. They are hidden, long and dark, and the person who cleaned them is usually the only one who saw them. A homeowner cannot walk the length of a flex run in a hot attic. A property manager cannot inspect every branch in a building. Verification gives the person paying for the work a way to confirm the result without needing to do any of that.
It also protects the technician. A job that ends with a documented clean surface leaves little room for later disagreement about whether something was missed. The before record described in photo documentation for duct work and the written scope in what the written report should say come together here, because verification compares the finished state against both.
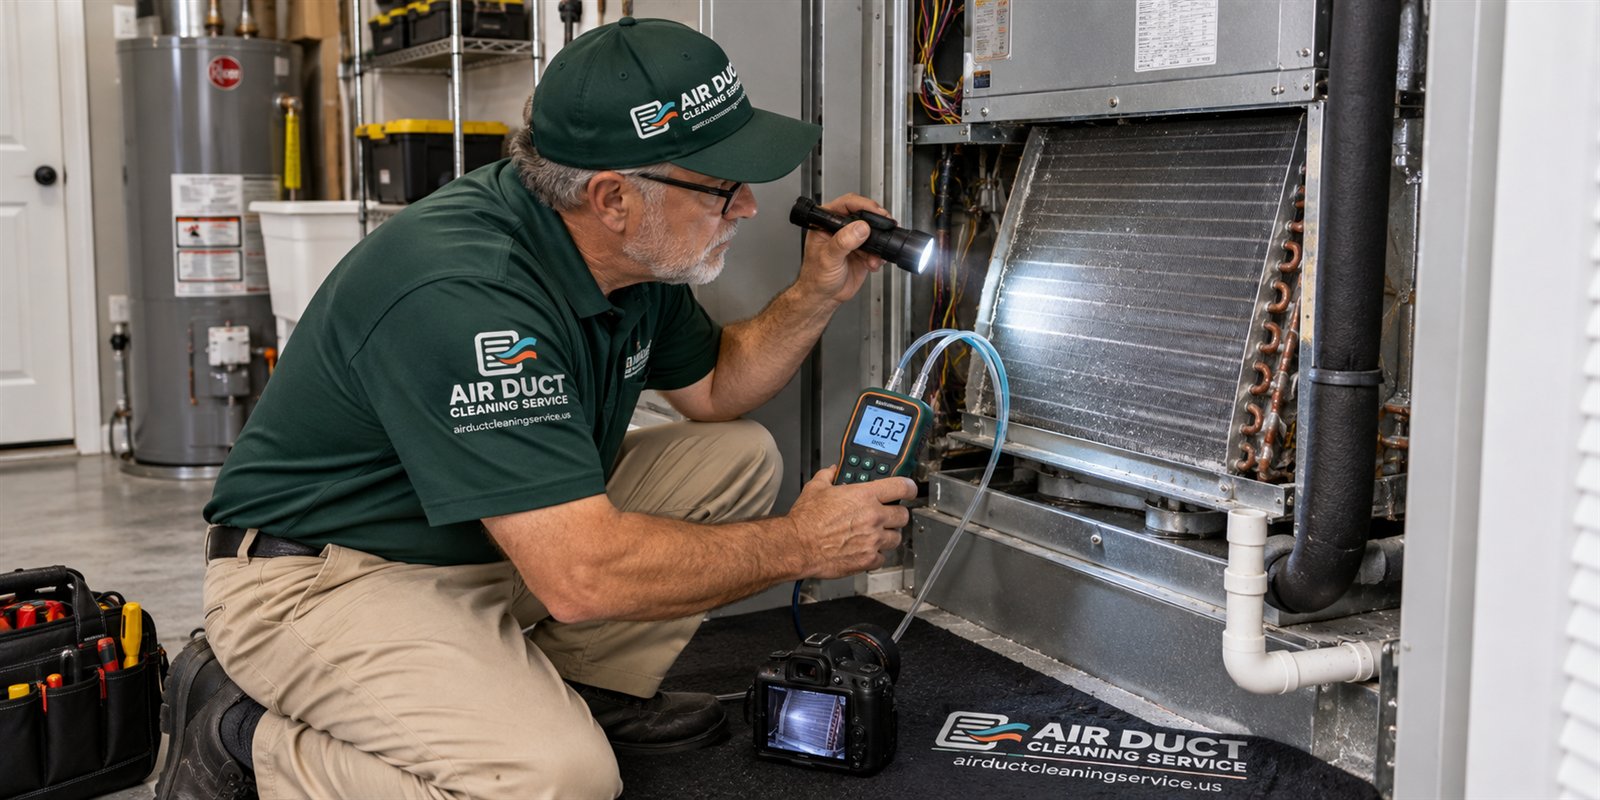
What industry standards say in plain words
Trade associations in the duct and HVAC cleaning field publish standards that describe how cleaning work should be assessed. One well known example is the standard published by the National Air Duct Cleaners Association, often referred to by its initials. In general terms, standards of this kind describe a visual inspection of the cleaned surfaces as the primary way to judge whether a system is clean. If you look at the interior of a component after the work and no visible dust, debris or contamination remains on the surface, the component passes a visual check.
Some standards also describe a more detailed check, in which a small area is tested with a device that collects residue from the surface so it can be examined. These tests are less common for typical homes, because they add cost and time, and a thorough visual check is usually enough for a residential system. They can be useful in larger commercial projects, in disputes or where a contract specifically requires them.
It is worth being careful about how these standards are invoked. A company saying that its work follows industry standards is making a claim you can verify, and that claim should be backed by specifics. Ask which standard, which part of it, and how the visual check is carried out on your job. A reference to a standard is only useful if it is tied to something you can observe. This site's description is general, and your provider can explain how it applies in your case.
The visual check step by step
A proper visual verification looks at each part of the system that was cleaned, in a defined order. The technician opens the same access points used for the before photos, shines a bright light along the interior surfaces and examines them for remaining dust, debris, stains, fibers and anything that was not there when the system was built. The check includes the inside of registers and boots, the first section of each supply branch, the trunk lines that can be reached, the return plenum, and the blower compartment and coil face where included in the scope.
The check should use the same light and viewing angles as the before inspection, so the comparison is fair. A technician often uses a camera to look farther into the duct than a flashlight can reach, and the camera screen can be shared with you. You can ask to see the surfaces yourself where it is safe, through the register opening or at an open access panel, instead of relying on a description.
What counts as clean is also worth understanding. A duct that has been in service for years will not look like new metal. Faint discoloration, galvanized dulling or a thin film of settled dust that cannot be removed without harming the surface may remain. The aim of the check is that loose and visible accumulation is gone, not that the duct looks polished. A technician who explains that distinction honestly is describing the job accurately.
What you can check yourself at the registers
You do not need equipment to take part in verification. After the technician finishes, ask to look at a few registers and returns together. Remove nothing yourself, but look through the opening with a flashlight, ideally a phone light, at the first stretch of duct. Compare what you see with the before photos. The visible portion should show no loose debris, lint mats and heavy dust.
Check the faces and surrounding areas too. Grilles should be back in place, secure and level, without bent louvers or damaged paint. Walls and ceilings near registers should show no smears, dust or fingerprints. Floors and furniture that were covered should be clear, and any protective coverings should be gone. A clean worksite is part of a clean job, and the care taken outside the duct often reflects the care taken inside.
Run the system briefly and listen. A quiet system with normal airflow is a good sign, while unusual rattles, a hissing from a disconnected branch or a change in air strength may mean something was disturbed. Mention anything unusual before the technician leaves, so it can be examined and fixed immediately instead of becoming a later dispute. Related checks of airflow are described in airflow checks at supply registers.
Matched after photos and the walk-through
The after photographs complete the record. They should be taken at the same locations as the before pictures, from the same angle, in similar light, and they should include the components named in the scope. A set that shows only a few registers when the job covered a whole system is incomplete. If any component was not reached or could not be cleaned, the report should say so, with a reason.
A walk-through at the end of the job is the best moment to put it all together. The technician shows the before and after images side by side, explains what was done and notes anything that was found along the way, such as a loose joint, a stained insulation section, a damaged boot or a clogged drain. You can ask questions while everything is open and fresh, and you can ask that findings be written down.
How to read the photographs critically is covered in how to read before and after duct photos, and a general checklist of evidence is in the duct cleaning evidence checklist. A technician who invites this walk-through and gives it time is showing confidence in the work.
When a surface test makes sense
In a small number of cases, visual confirmation is not enough, and a surface test is reasonable. A commercial contract may require it. A medical or sensitive facility may have its own rules. A dispute about whether a previous cleaning was adequate may be easier to settle with a measured result. In these cases, agree in advance on the standard, the sampling locations and who performs and pays for the test.
For a typical home, a surface test is rarely necessary and should not be presented as a requirement. If a company pushes for testing as a routine add-on, ask what question the test would answer that a clear visual check cannot. Compare that answer with the reasoning in sampling versus visual evidence and when testing makes sense.
Also be careful with any test that is described as proof that the air is cleaner. A surface check measures what remains on a duct surface. It says little about the quality of air in the rooms, which depends on many things beyond the ducts. Keeping each tool tied to the question it can answer prevents confusion and helps you avoid paying for results that do not matter to your situation.
How verification differs by system type
The check looks different depending on what was cleaned. In a typical single-family home with a central air handler and flex ducts, the technician verifies the registers, the first stretch of each branch, the return plenum, the blower compartment and, if in scope, the coil face. Flex duct is hard to see beyond a few feet, so a camera pass along the longer runs is the practical way to confirm the interior.
In a sheet metal system, surfaces are smoother and easier to judge, and a clean metal interior reflects light in a way a dusty one does not. Duct board and lined ducts need more caution, because the inner surface is fibrous and cannot be scrubbed hard without damaging it. Verification there focuses on whether loose material was lifted without leaving torn or exposed fibers, and the material differences are described in duct board and fiberglass ductwork.
For a condo or apartment with a short system behind a closet air handler, verification can be quick, and it may amount to checking the return, the blower compartment and several registers. For a restaurant, office or other commercial space, the record should list each zone and register group, so a large system is not summarized by a handful of images. In every case, the question is the same: can the person paying see that the described surfaces were cleaned, and does the paperwork say what was covered?
What verification cannot prove
Verification shows that the surfaces inspected were clean on the day of inspection. It does not prove that the system will stay clean for any particular length of time, because dust returns at a rate that depends on filtration, leaks, home activity, construction, pets and humidity. It does not prove that every hidden section of every duct was reached, only that the inspected sections were. And it does not show that a leak, a wet insulation section or a drain problem has been solved.
It also does not prove an improvement in health. No honest provider should say that a verified clean duct will cure an illness or always improve air quality. Some people with allergies notice changes after a cleaning, while others notice none, and the causes of symptoms are many. A fair expectation is that visible contamination in the ducts has been removed and documented, and that is all. Public guidance on the limits of duct cleaning is summarized in the EPA's duct cleaning guidance in plain words.
Understanding these limits keeps the result in proportion. If dust returns quickly, the cause may be a leak, a filter gap or an outside source, and the topic of rapid return is discussed in when dust returns quickly after cleaning. A clean verification followed by renewed dust is a reason to investigate the cause, not proof the cleaning failed.
What to do if the check does not pass
If you look through a register and see the same buildup that was in the before photos, raise it right away, calmly and specifically. Point to the location, show the photo and ask for a recheck. A professional will usually return to the spot, finish the work and photograph it again. Where a component was left out of the scope, the conversation may be about whether to add it, and you should hear that choice stated clearly.
Do not sign off on a completed job until you are satisfied with what you have seen, and do not feel rushed by a technician who wants to leave. Take your time at the registers, ask for the photos and read the summary. If the result is still unclear, ask the office to review the record, and keep notes of whom you spoke with and what was said.
A dispute that cannot be settled at the door can still be handled with documents. Your before and after photos, the written scope and your own notes are the evidence. Calling to arrange a recheck, or to discuss the result, is reasonable. Describe what you saw and when, and ask what the next step will be. A calm and specific call is more productive than a general complaint.
Before you pay and close the job
Use a short mental checklist at the end of a job. Did the technician show the finished surfaces and walk you through the findings? Are matched after photos available? Does the written summary list what was cleaned, what was not reached and any other findings? Did the system run normally when it was restarted? Is your home tidy, with grilles and panels back in place?
Quotes are given by phone, and complicated jobs need an on-site visit. There is a service call charge, which is explained on the phone before dispatch, so the amount you approve should match what you were told. If the scope changed during the visit, the change should have been explained and agreed before the work was done, not after.
If you want a job that ends with a documented visual check and matched photos, call and ask how verification is handled before you book. Describe your system and what you have noticed, and ask what you will receive at the end. A company that can answer clearly is one you can hold to its word, and the record you keep will serve you long after the visit.
Questions people ask
How do I know the ducts are actually clean after the work?
The basic method is a visual check of the cleaned surfaces, compared with matched before photos. Ask to look through a few registers or at open access points, and ask for after photos of the same locations. Loose dust, lint and debris should be gone from the inspected sections.
Is a lab test of the ducts necessary?
Usually not for a home. A careful visual check answers the practical question of whether visible buildup was removed. Surface tests can make sense for commercial contracts, sensitive facilities or disputes, and the standard and locations should be agreed in advance. A test is not proof of better room air.
Should ducts look brand new afterward?
No. Ducts in service for years will show some dulling, discoloration or a faint film that cannot be removed without harming the surface. The goal is removal of visible loose accumulation and debris, not a polished look. A technician should explain what remains and why.
What if a section was not reachable?
The report should say so, with the reason, so you know what was and was not addressed. Sometimes an access point can be added, and sometimes a section is left alone for good cause. Silence about unreached areas is a reason to ask questions before you sign off.
Can dust come back soon after a verified cleaning?
It can, and the reason is usually a leak, a filter gap, an outside source or ongoing activity in the home. A passed check shows the day's condition only. If dust returns quickly, ask for an inspection of the cause. When you want one arranged, call and describe the timing and location.
What should I do if I am not satisfied with the result?
Compare what you see with the before photos, point to the specific location and ask for a recheck before you close the job. Keep notes and photos. A reasonable provider will review the spot and finish the work, or explain clearly why it was left as it is.
Describe the situation by phone and we will tell you what the job involves. Quotes are given by phone. Jobs that cannot be quoted without seeing them need a technician on site, and the service call charge is explained on the phone before anyone is dispatched.
Related pages
- Photo Documentation: Before and after photos are only useful if they are honest. See what a good duct photo set contains, how it is labeled and how to spot a misleading one.
- Evidence Checklist: A plain checklist of the proof to expect before, during and after a duct cleaning: photos, readings, written notes and answers, so you pay for what was done.
- Written Report: The sections, photos and plain-language findings a useful duct inspection report includes, and how to tell a real report from a sales sheet before you decide.
- Sampling or Visual: Compare what a photograph or camera image settles inside ductwork and what lab sampling would add, so you know when a picture is enough and when it is not.
- EPA Guidance: A plain reading of public EPA guidance on duct cleaning: when it may be warranted, when it is not routinely needed, and why evidence should come first.
- Leakage Signs: Dirt streaks, loose joints, gaps at boots and disconnected runs are the leak clues an inspector notes. See what they look like and why leaks come first.